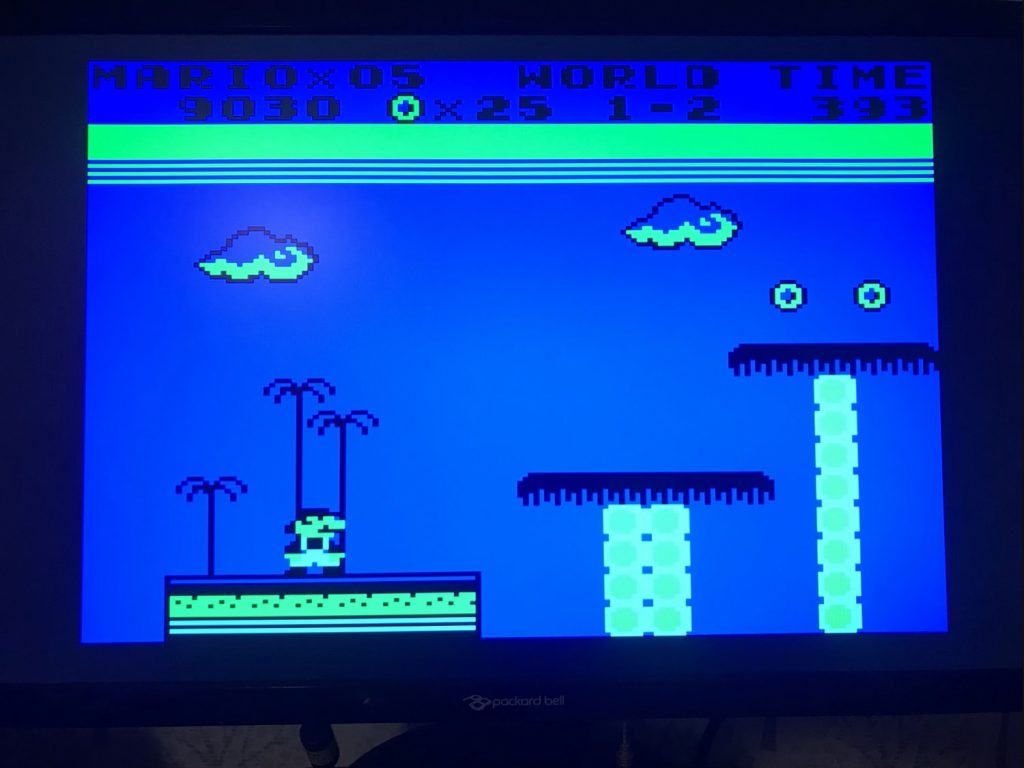
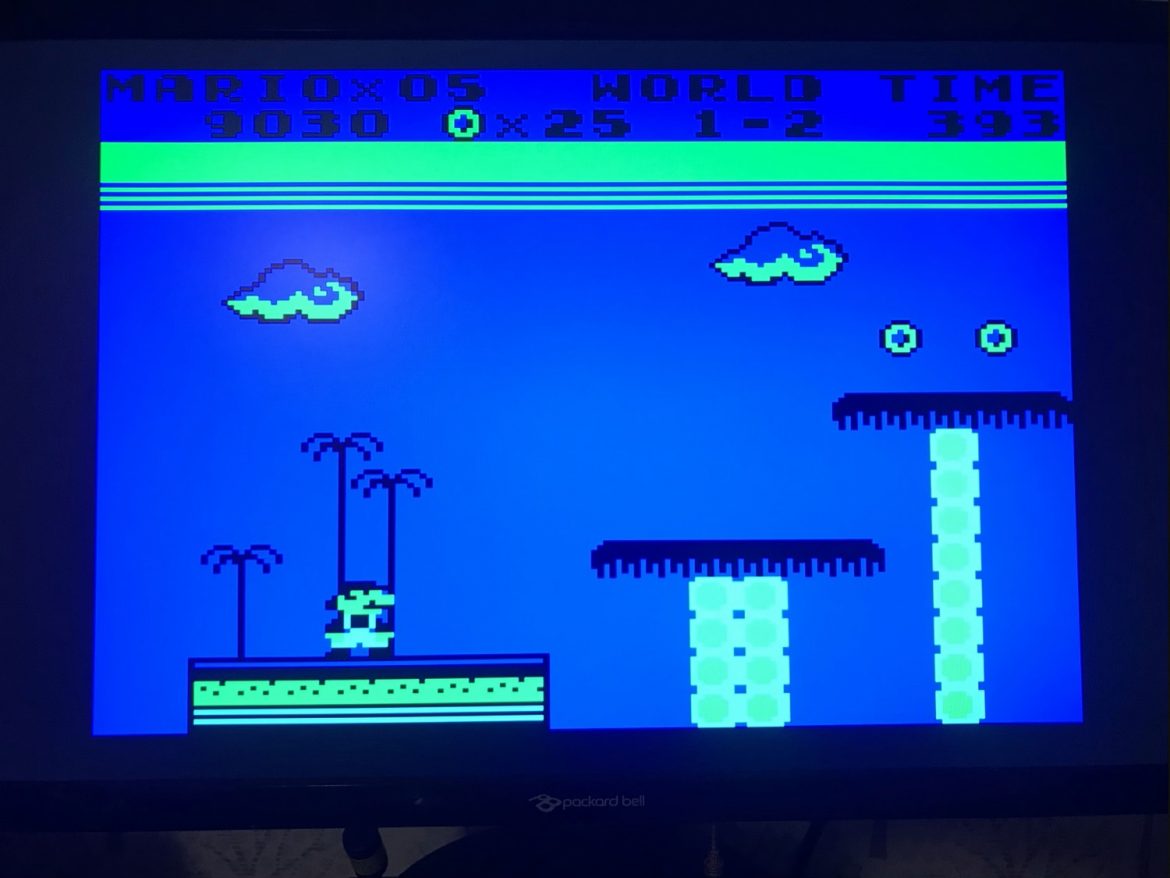
I have a tendency to buy broken Gameboys on Swedish eBay for around $20-$25, and then fix them. They usually suffer from two faults that are easy to repair: corrosion on the battery connectors, and vertical lines on screen. However, in some cases, the screens are beyond repair (if they have dead horizontal lines, or damaged flexible PCBs). Then, a VGA mod may come in handy. In this post, I will describe how to perform this mod.
Gameboy VGA mod
The idea with the VGA mod is simple: you generate a VGA-out signal from your DMG-01 Gameboy, which enable you to play it on your monitor or TV. By adding a Bivert chip on top of this, you will also experience a sharper picture. To connect a portable videogame to a stationary TV is of course a bit counter-intuitive, but hey, its fun!
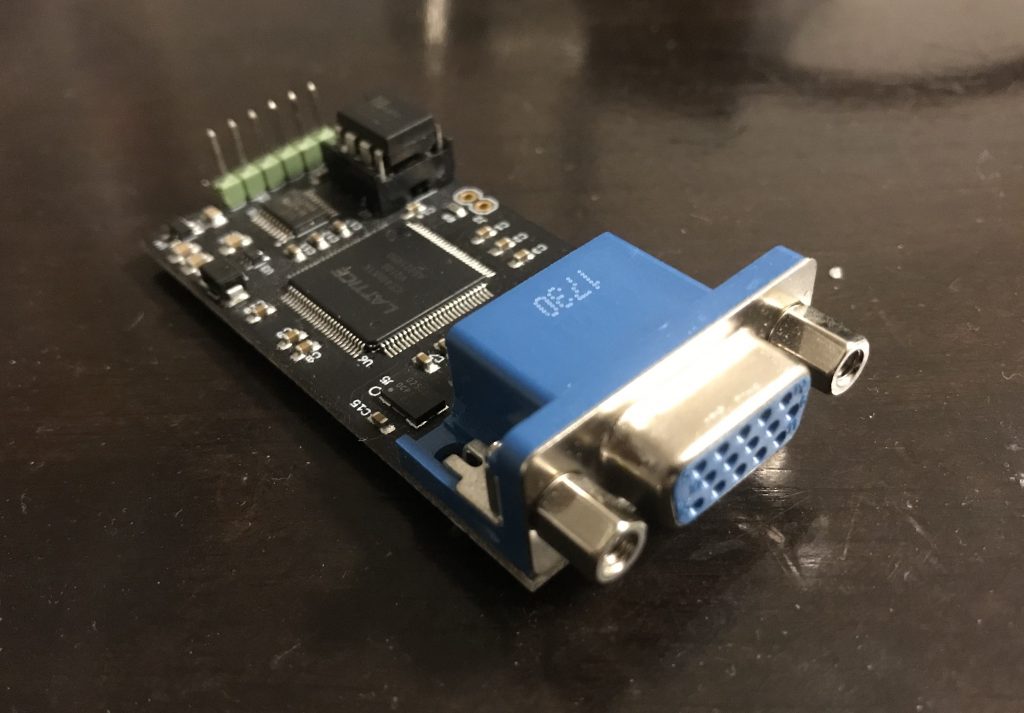
To install the mods you need basic soldering skills:
- The Bivert chip connects to four points of the DMG01’s motherboard (5v, ground, +2 video signals, which are then redirected to the VGA-mod).
- The VGA-mod connects to six points of the DMG01’s motherboard (5v, ground, CLK, D0, DC, CS two of which are redirected via the Bivert chip (D0, CS)
I am not going through the whole process of installing the mods in this post. There are better sources for that on the internet, as will be explained below.
- For the Bivert chip, I recommend the Youtube video by This Does not Compute.
- For the VGA mod, follow the instructions on the creator of easy_VGA, Kitsch-bent’s site (PDF).
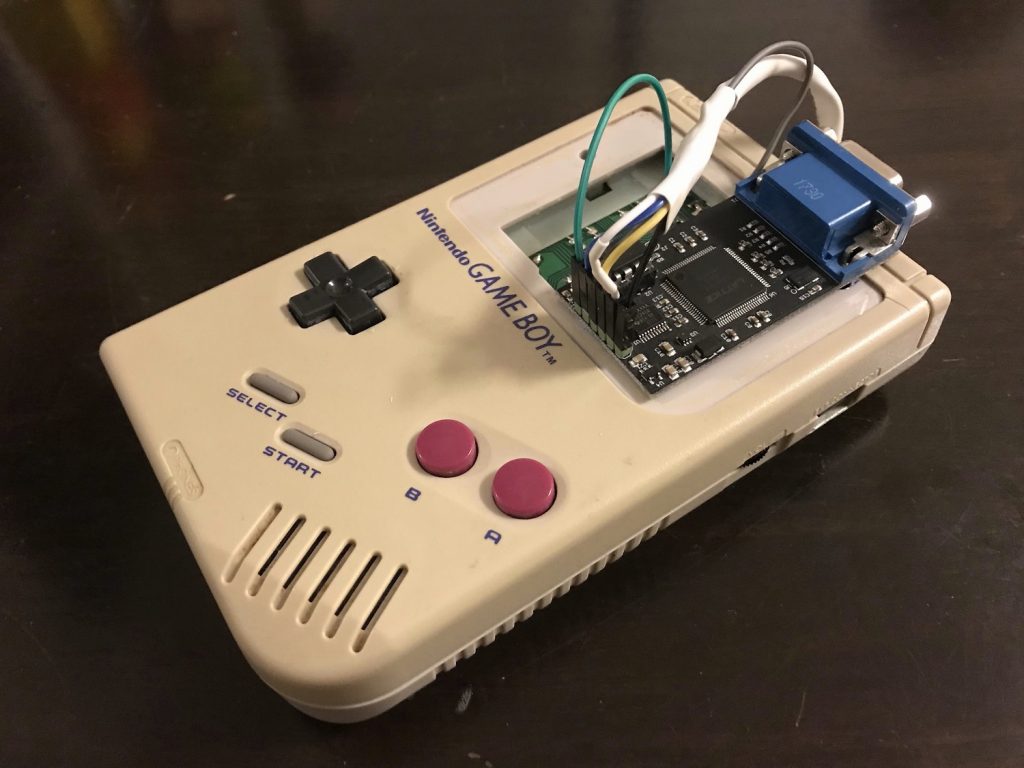
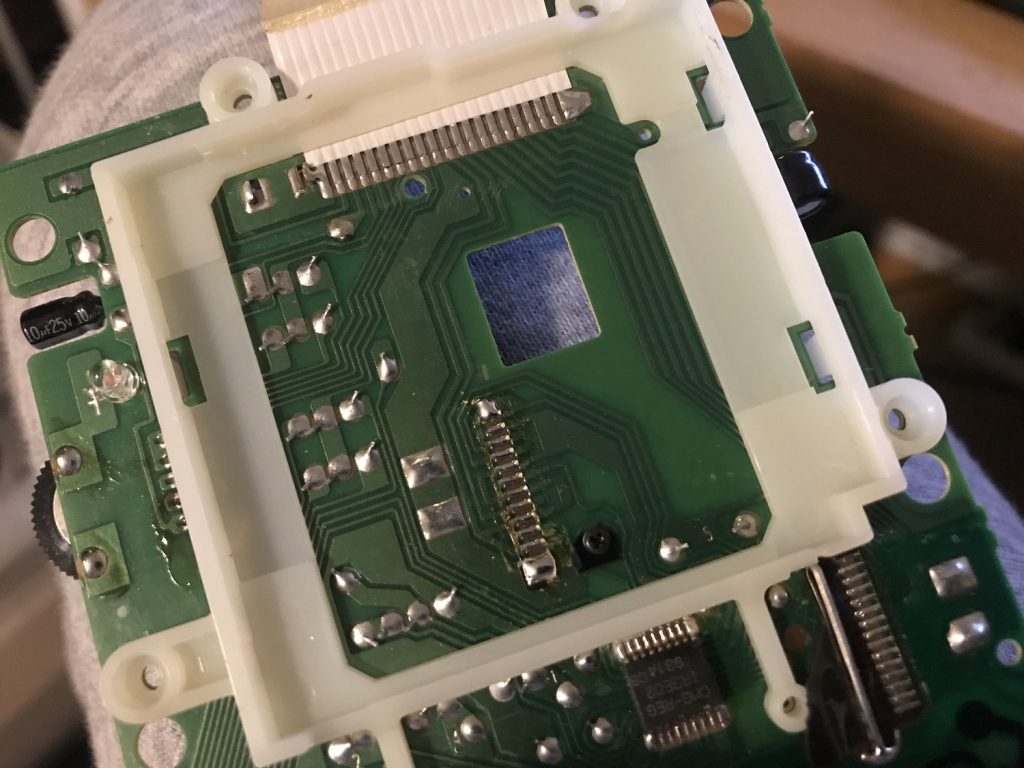
What I did was to connect the Bivert chip to the VGA-out instead. Moreover, I did not attach the Bivert chip directly to the mainboard of the Gameboy, I used some cables in between.
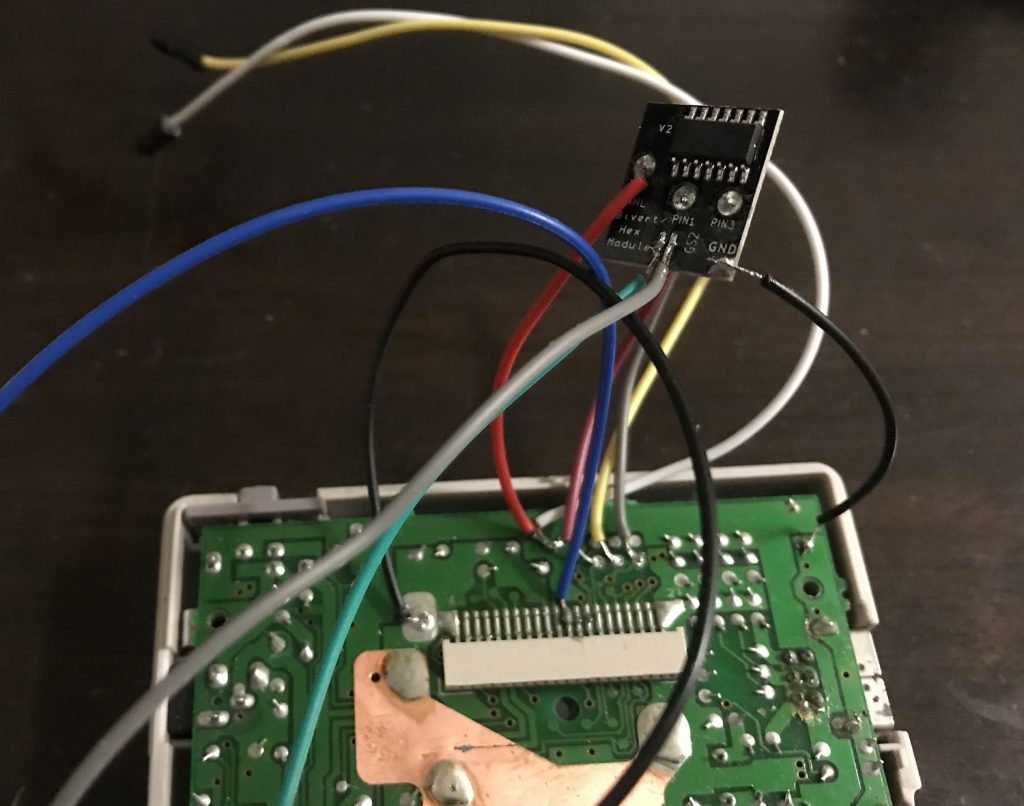
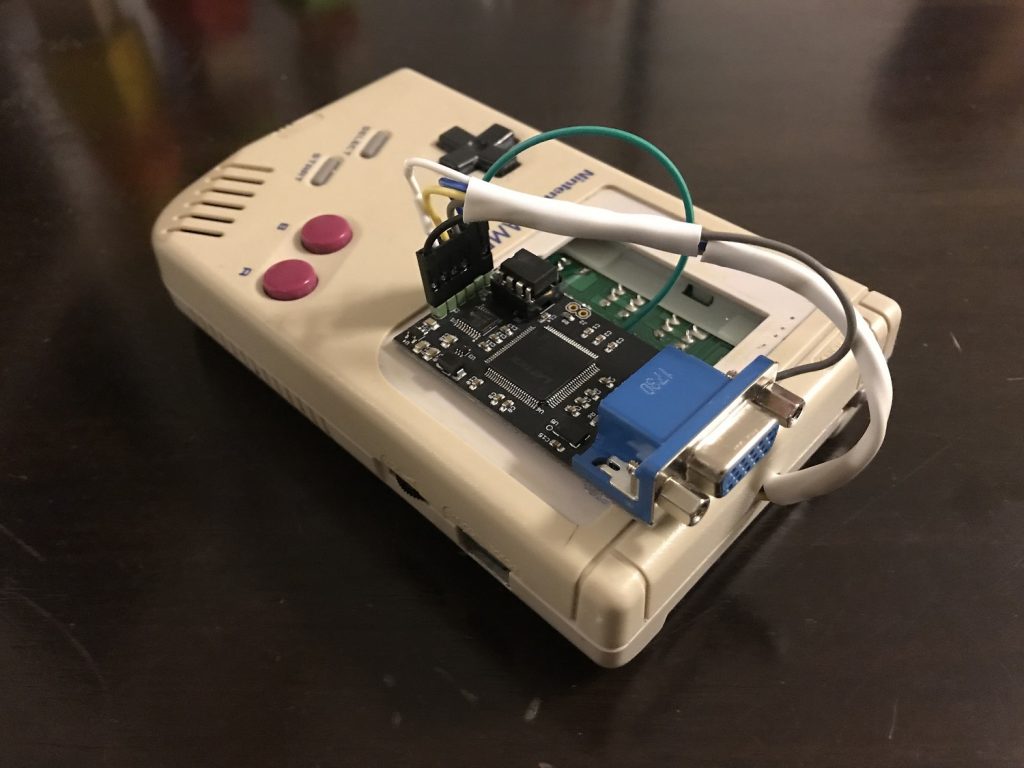
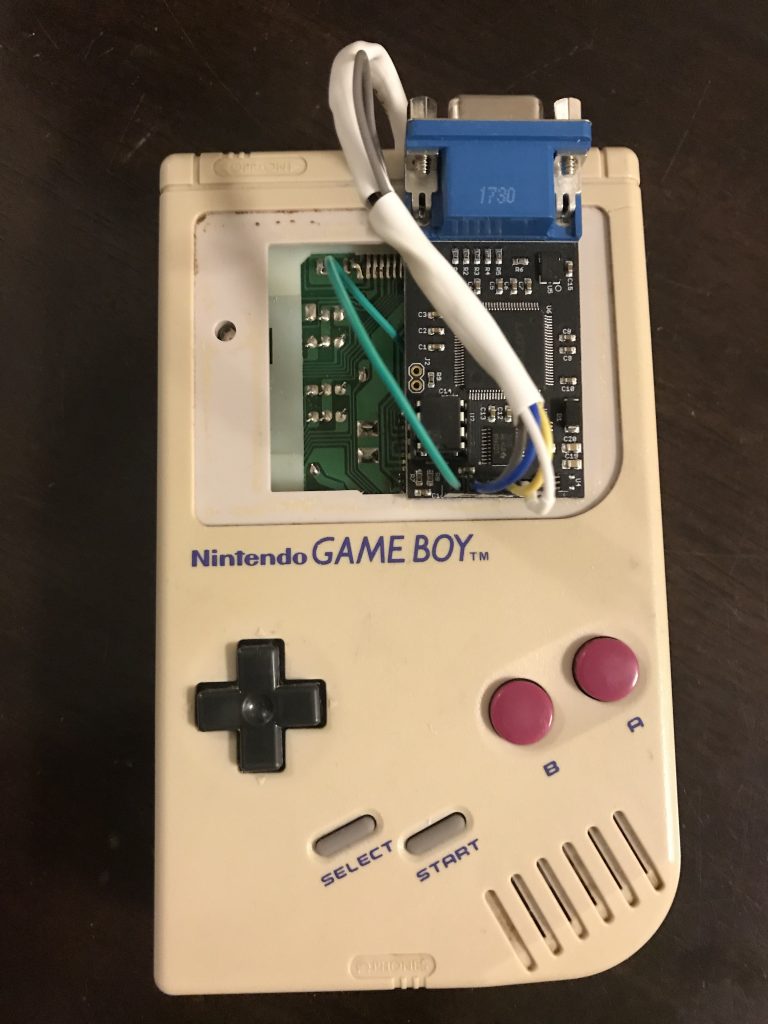
Please note that after the above image was taken, I desoldered the cables from the Bivert chip, pulled them through the hole on the other board of the DMG-01, and let it rest where the screen used to be, under the VGA PCB as shown below.
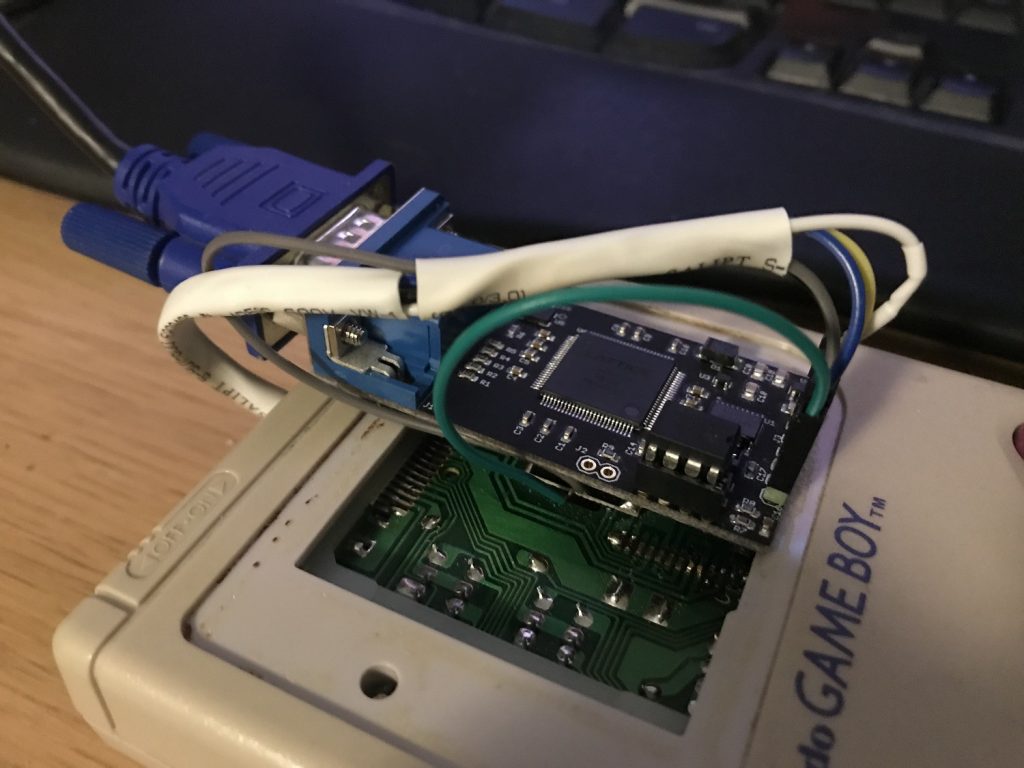
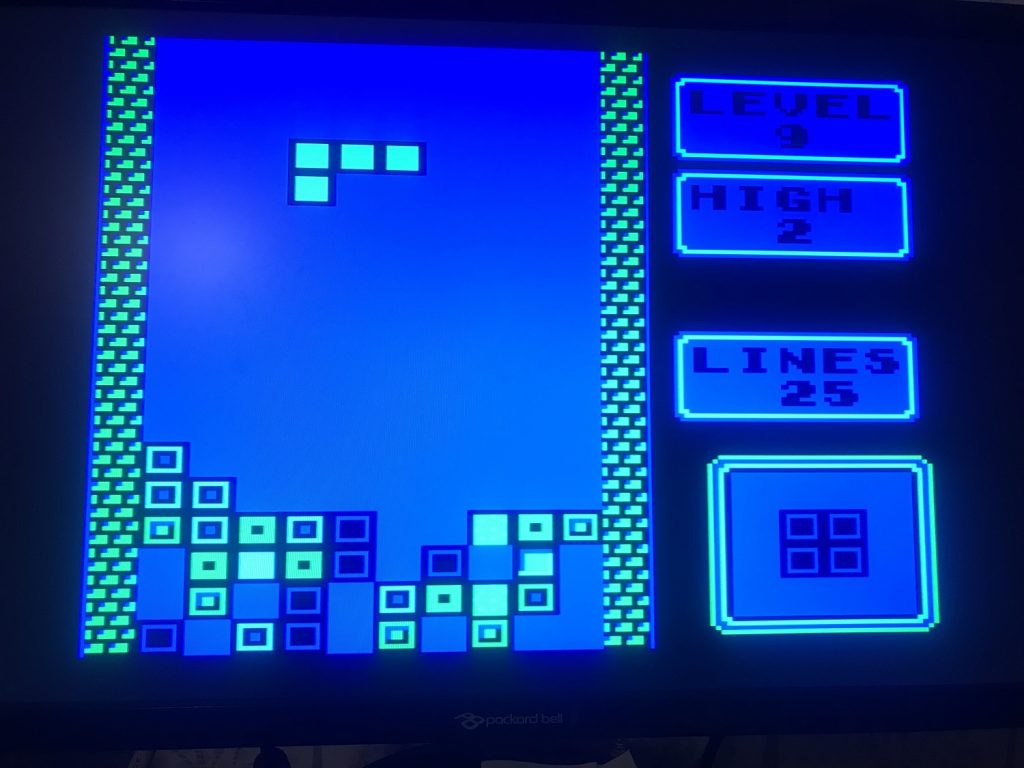
On this unit, I did not do anything special to integrate the mod in the case. I just used some strong, double-sided tape to place the VGA connector, and some shrink tubes around the cables. On future units, I will improve the aesthetics 🙂 Anyway, the images below show the final unit, as well as some screenshots from Tetris and Super Mario Land.
