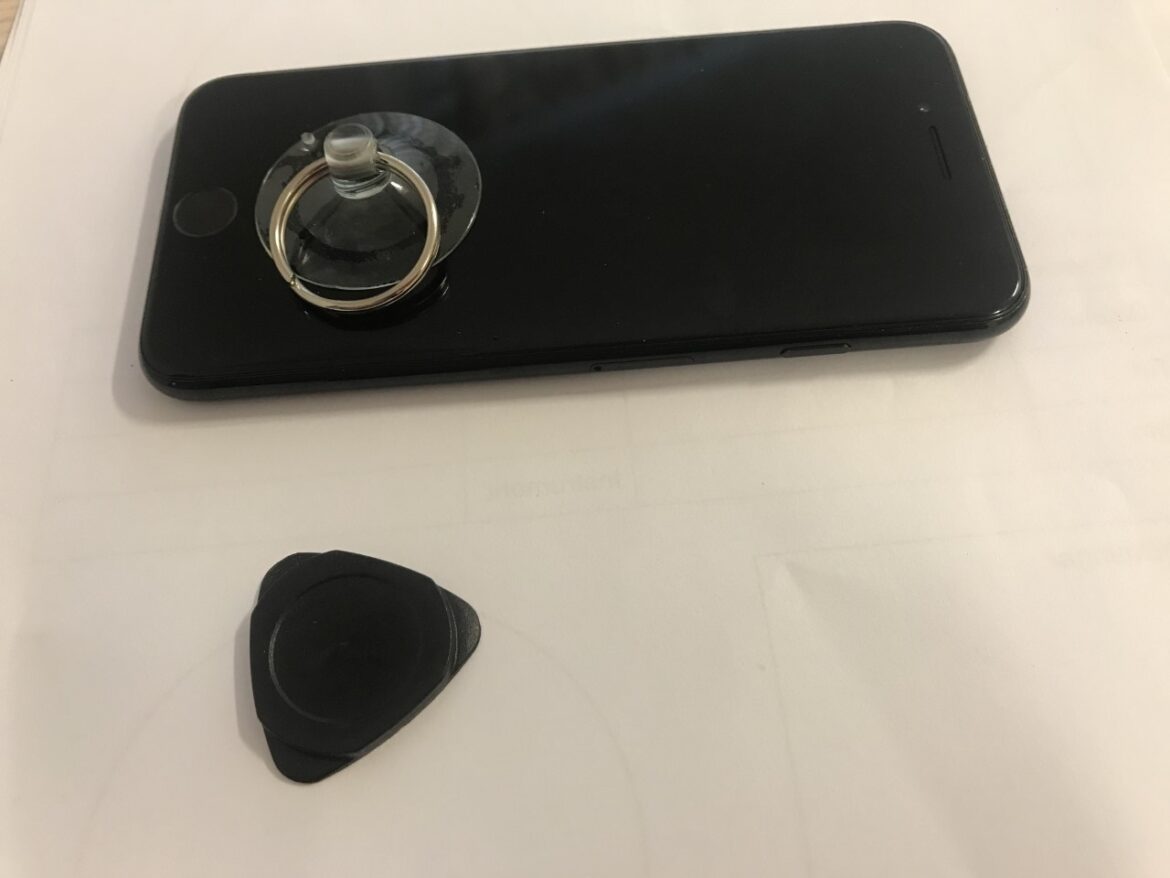
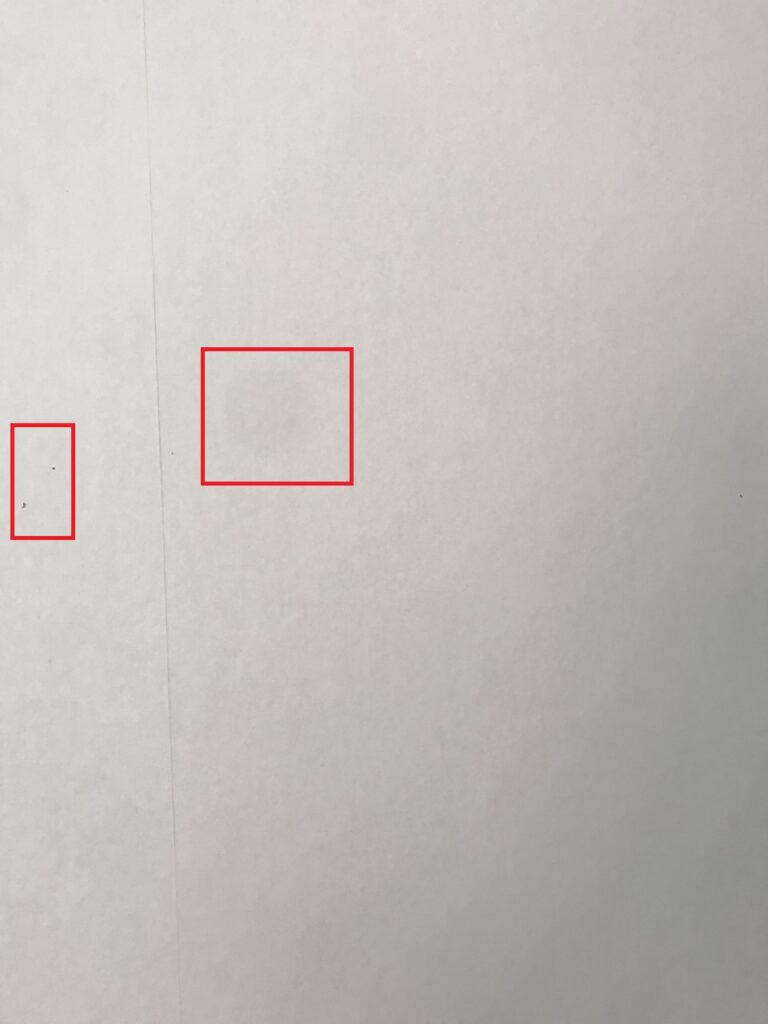
An iPhone 7 I bought from Swedish eBay worked perfectly fine, except for some distortment on the camera lens as seen below. This are due to aging and / or damage to the lens and can only be fixed by replacing the camera. In this I will show how to replace the iPhone 7 rear camera.
To follow this guide, you need some tools (included in “iPhone repair kits”):
- A set of small screwdrivers.
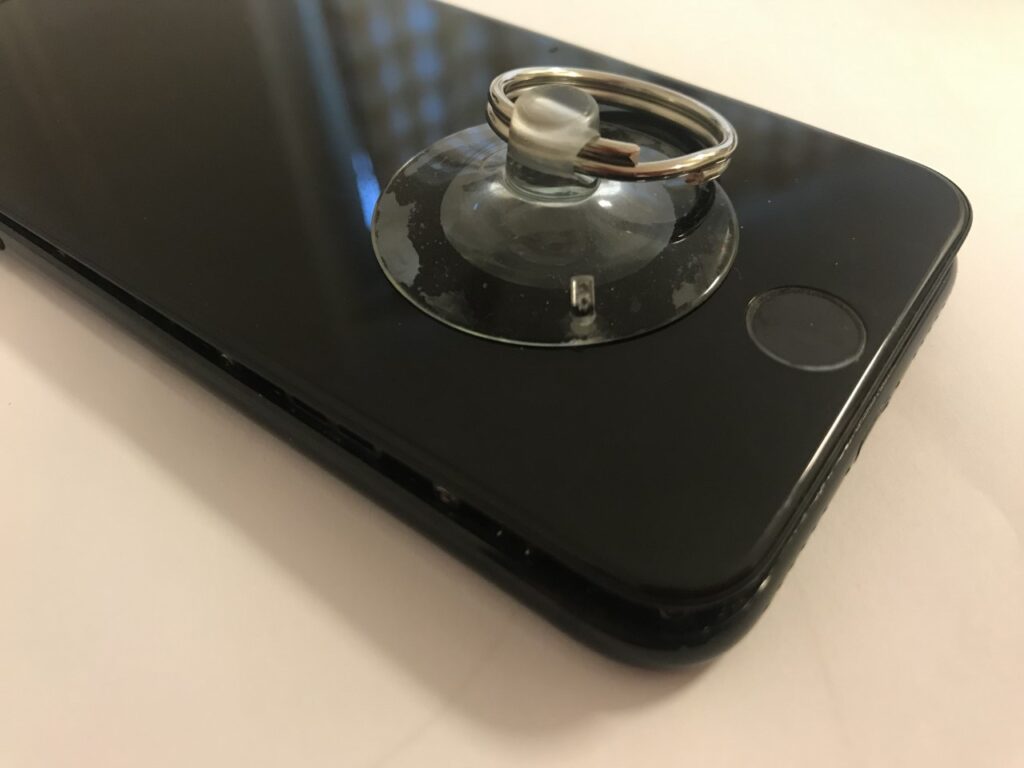
- A suction cup.
- Assorted plastic tools to remove screen and camera.
I used the camera from a donor iPhone 7 I had laying around. This gave me the opportunity to practice disassembling that unit before doing it on my functional phone.
Step 1: Remove the iPhone 7 screen
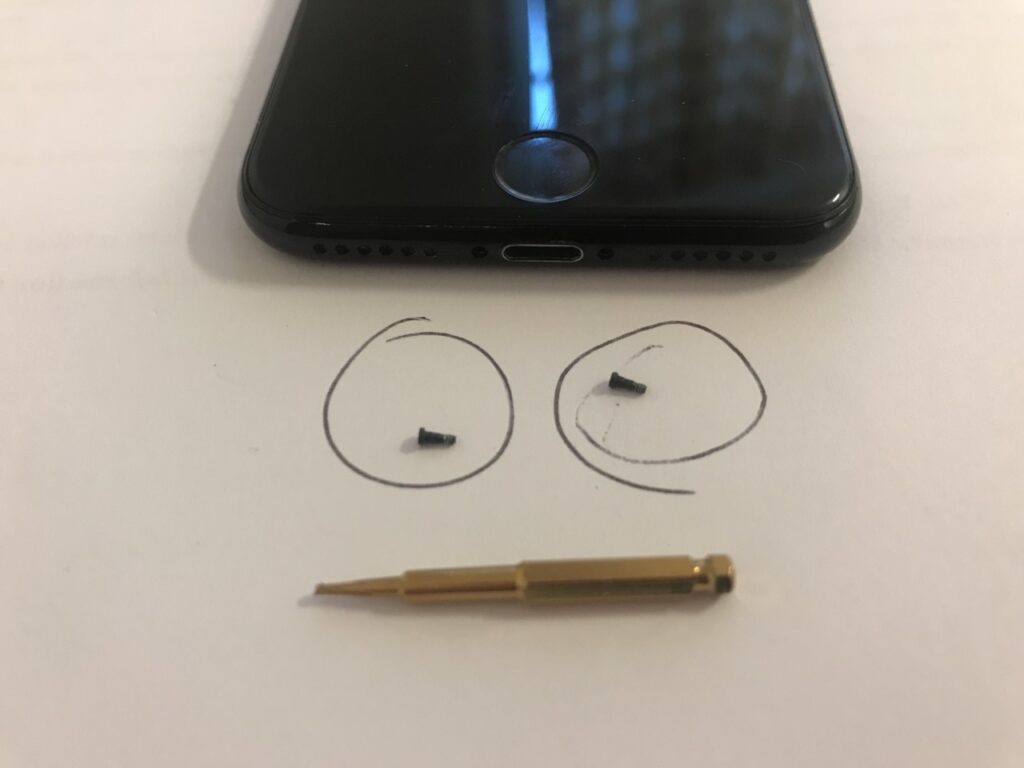
To remove the screen, start with removing the two tiny screws from the bottom of the iphone, one on each side of the charger port.
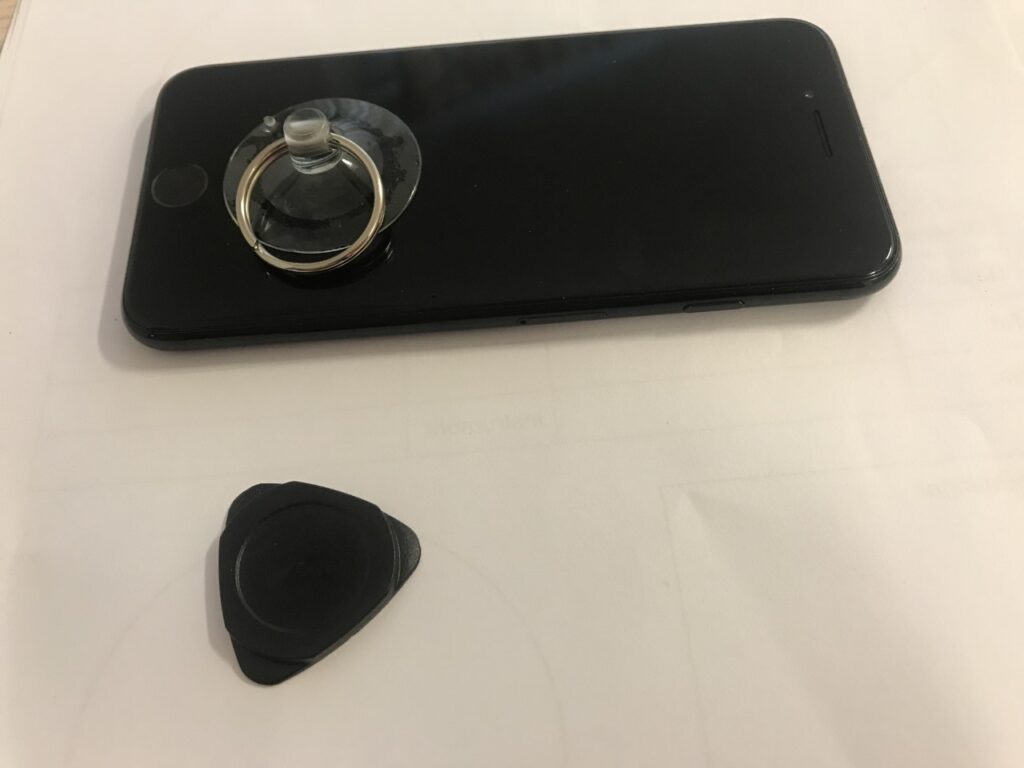
Place the suction cup on the screen, and used the black triangle-shaped tool to gently pry open your unit. Start in the bottom part of the phone, and don’t use excessive force. If you face resistance, go in the opposite direction with the tool. If your unit has not been opened before, you might need to use a hairdryer to get the adhesive around the screen to release. I did not need to do that as both of my units were previously opened.
Step 2: Remove and replace the camera
To replace the iPhone 7 camera you need to remove four screws as marked below. This will release the two metal shields holding the camera in place. Then, use a plastic tool to gently lift the connector cable, and the camera will come loose.
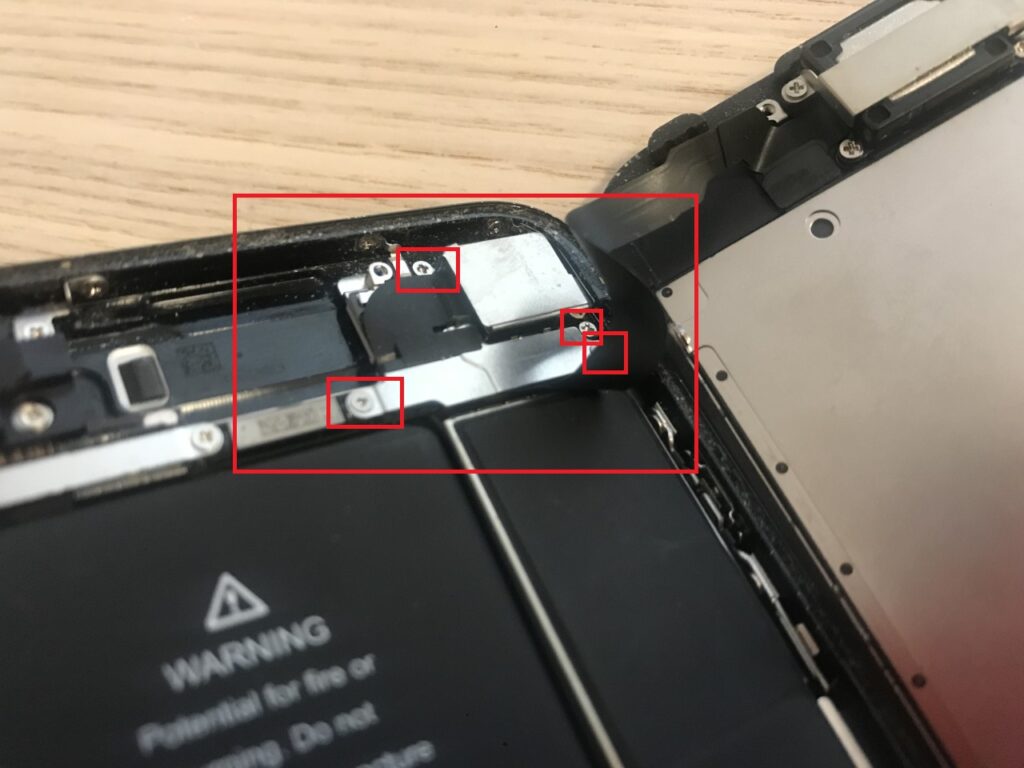

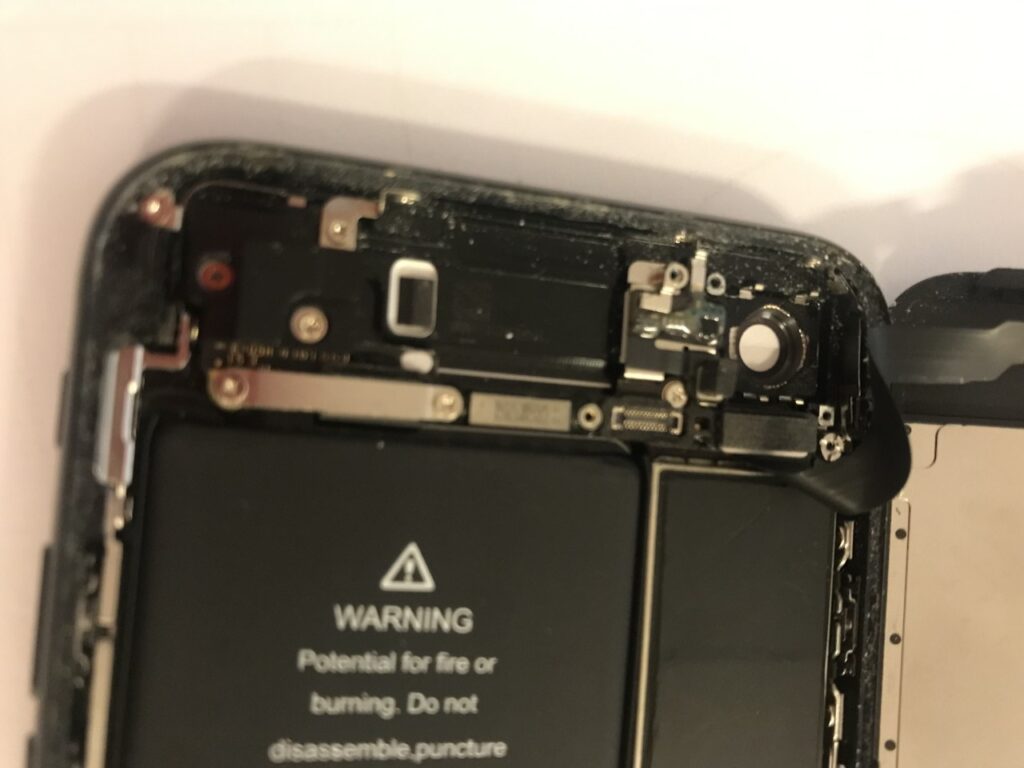
After removing the camera, I cleaned the space beneath it, and the replacement camera lens with some isopropanol alcohol. Then, replace it and attach the tiny screws again. This part can be a bit tricky, and a pair of tweezers may be beneficial to get the screws in place. For some reason, the bits in my repair kit were not magnetic, which would have helped a lot during this step.
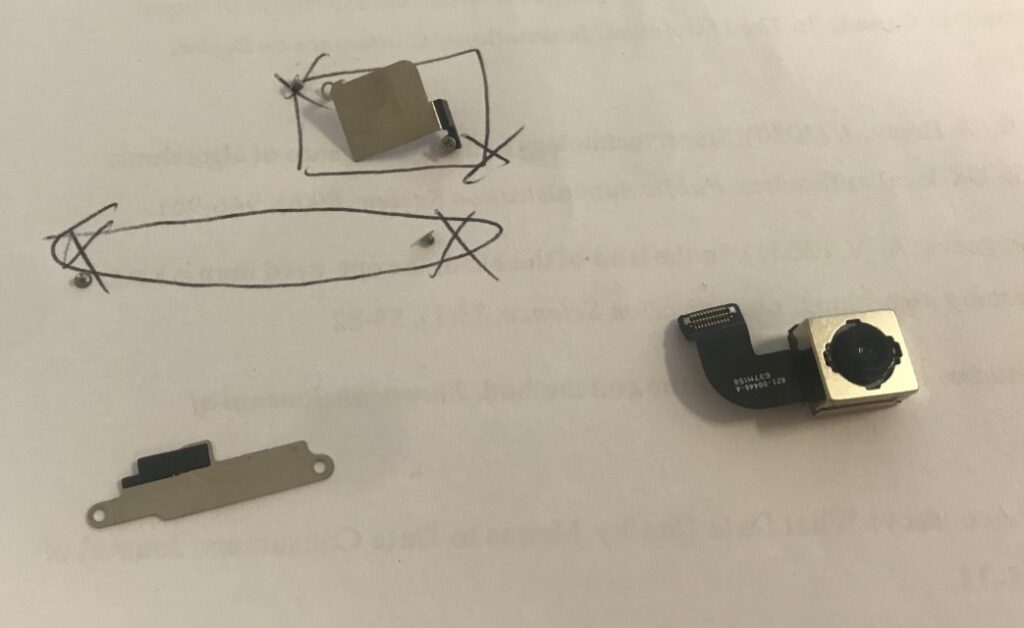
Step 3: Assembly and test the iPhone 7
Now, assembly your phone by following the guide in reverse. When I attach the screen I started with the top part. Press it gently and start over if you feel any resistance. Before attaching the last two screws, power up the unit and make sure everything works as it should.
As seen in the image below, the new camera does not have the same distortions. I placed the old camera in my donor phone, and the distortions were still there, so they are definitely a part of the lens.

I found this video helpful: https://www.youtube.com/watch?v=ZjqEIvd0pK4&ab_channel=GRIBSOFT
