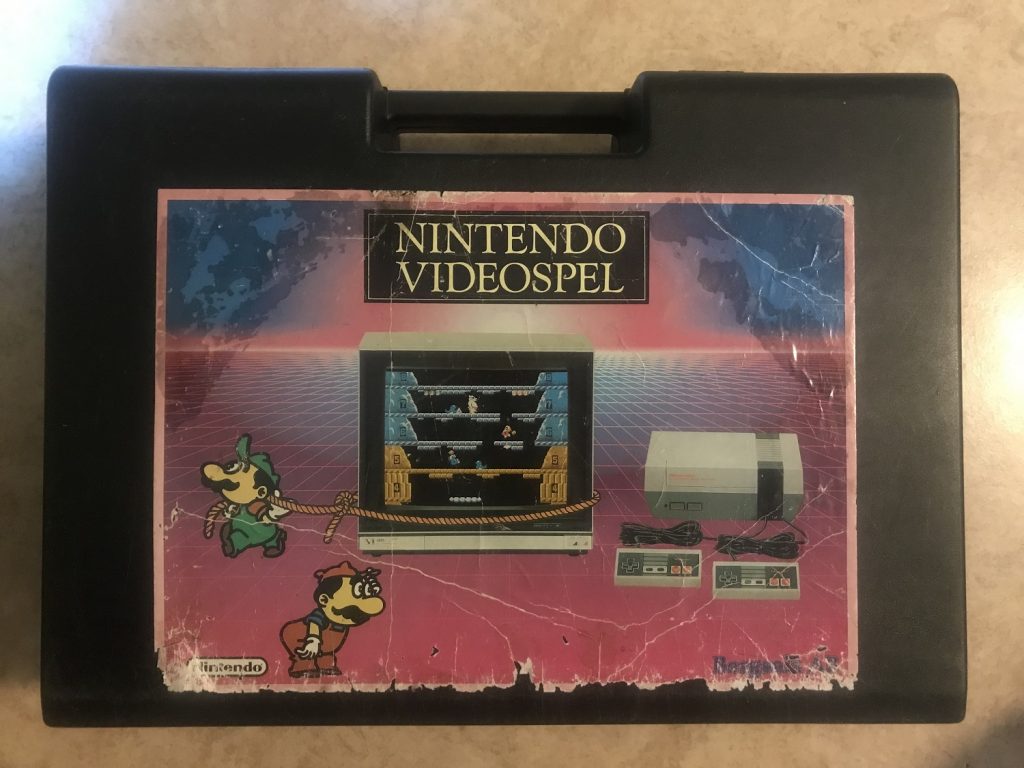
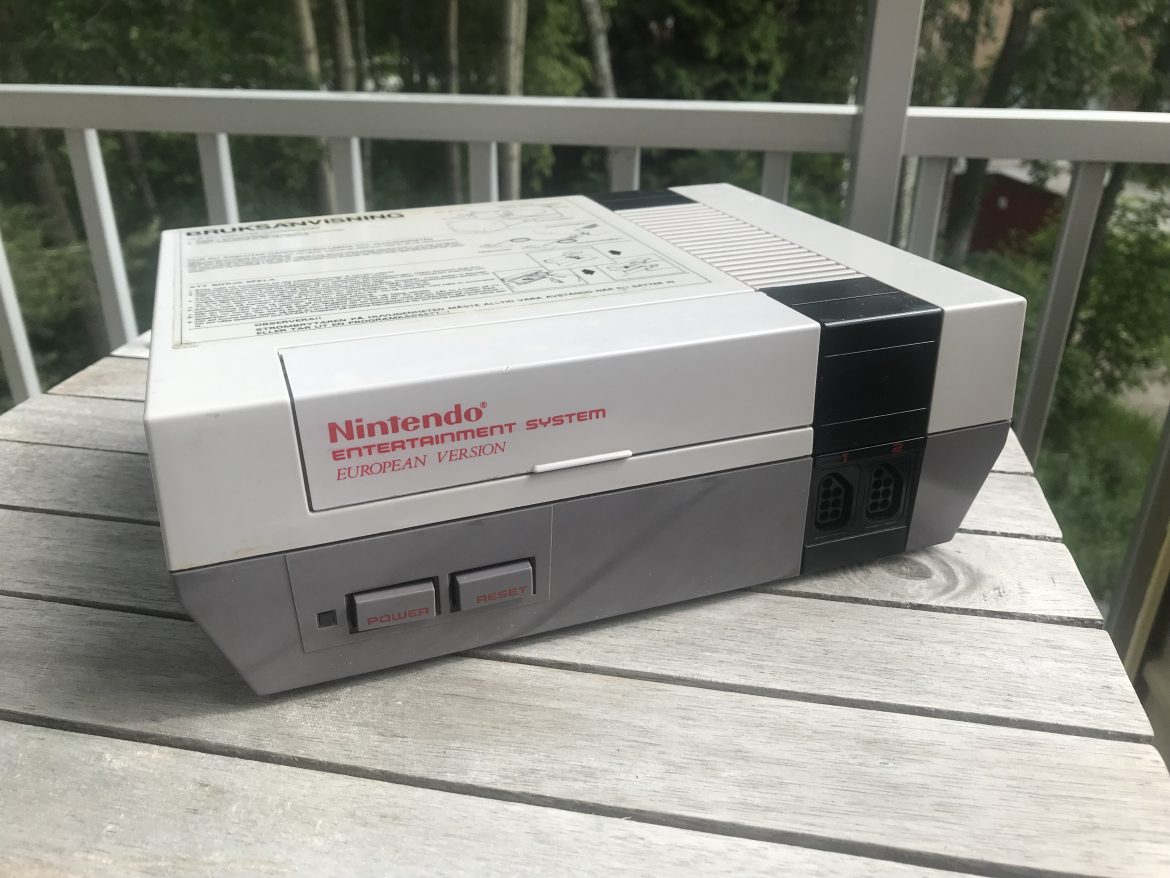
In this post, I will make a full disassembly of a Nintendo Entertainment System (NES), including cleaning the 72-pin cartridge connector. If you experience “pink” screen or having problems running games, this is the first measure to get your NES in working order again. The unit I am working on is an ex-rental. This unit has never been opened before, and is in excellent condition, except for being dirty. To disassembly the NES you need a standard Philips screwdriver. For cleaning, I use a mix of soap, alcohol, and an electronic cleaning agent.
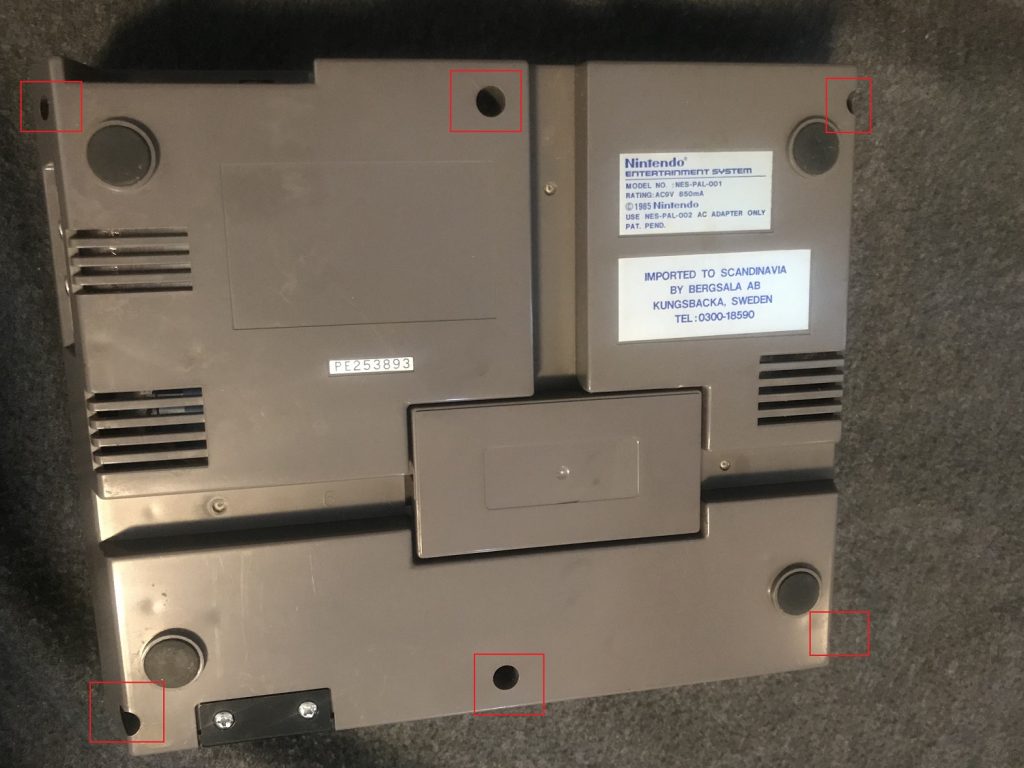
First step is to turn the NES upside down, and remove the six screws in the bottom, as marked below.
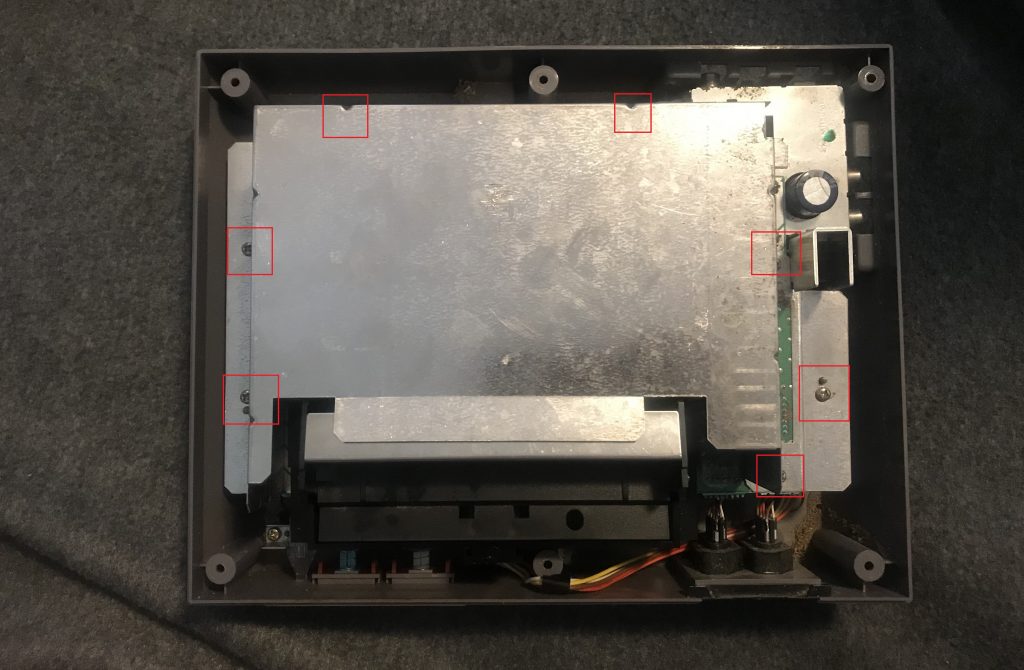
Now, proceed with removing the RF shield as shown below.
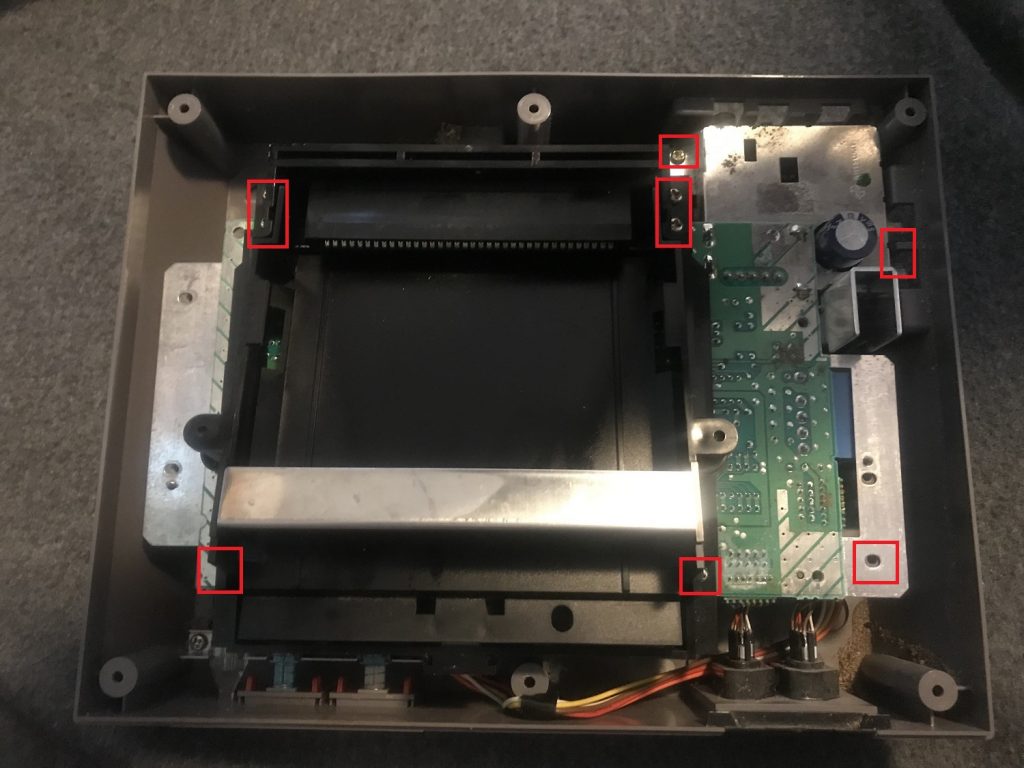
If you are just looking to clean the connector, you can remove it by loosening the six screws on the black plastic to the left in the picture below. However, if you want to do a full disassembly, you should also remove the rest of the screws in the picture. Notice that two of the screws holding the connector are of different length than the other screws. Except for these, most other screws are of the same size, which make the NES a pleasure to work on!
The connector is shown below. Use an appropriate cleaning agent for electronics to clean it. I soaked a paper in the cleaning agent, and used a credit card to reach inside the connector.
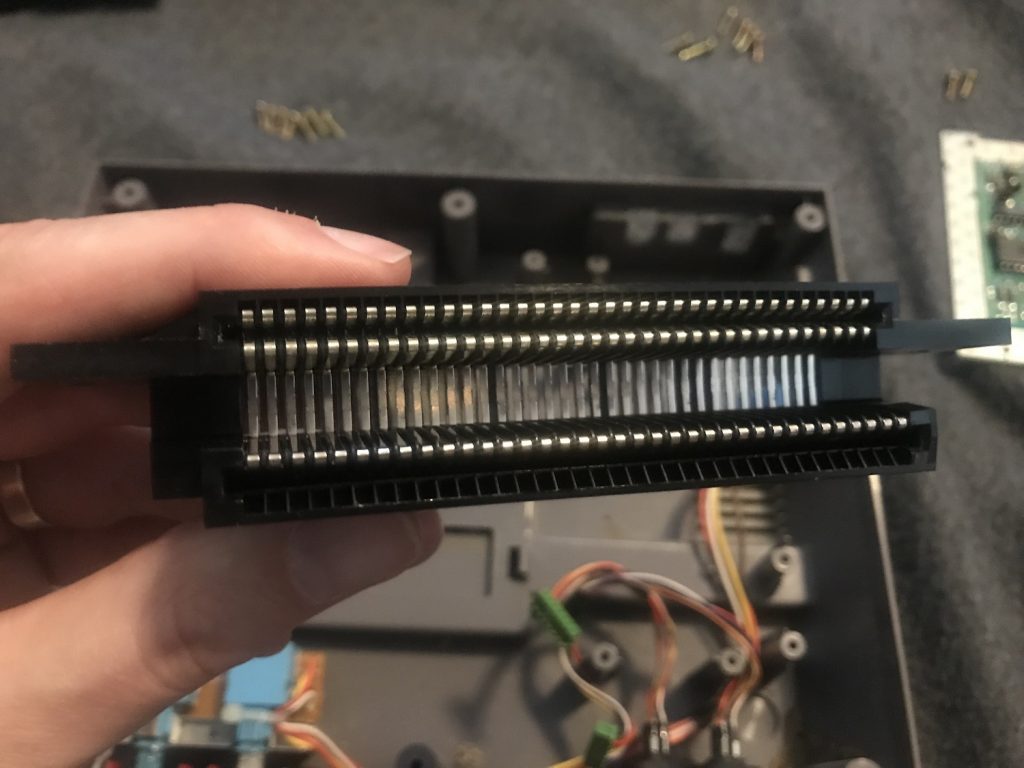
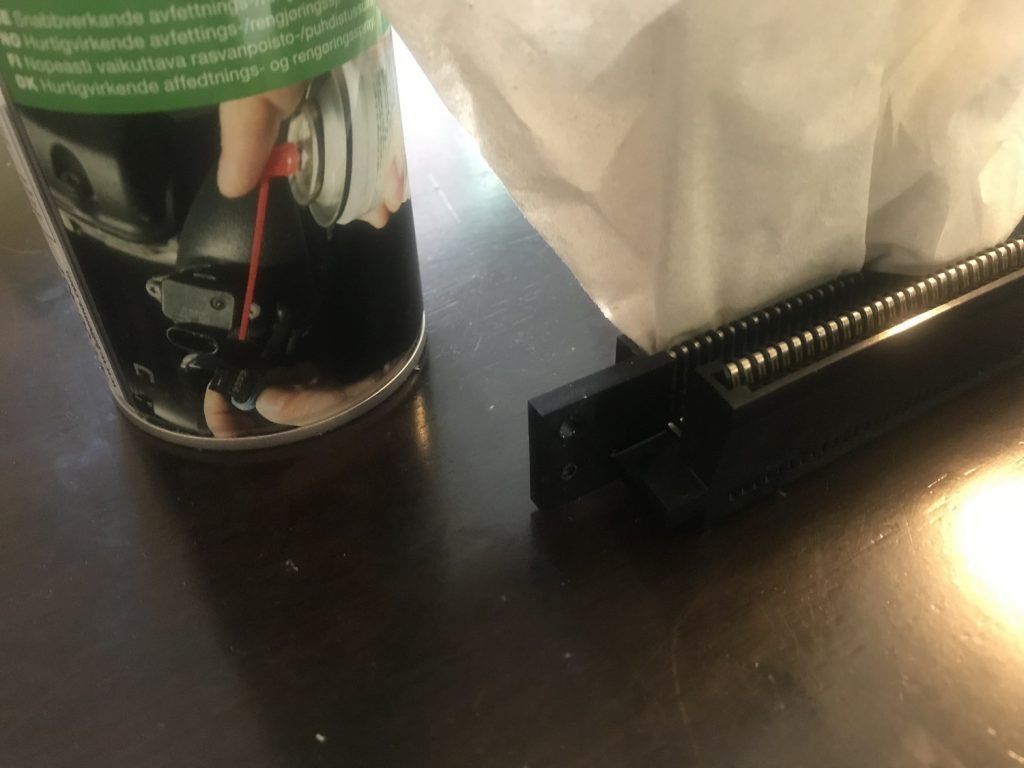
If you are just looking to clean the connector, reverse the step above to assemble the NES again. If you want to do a full disassembly, proceed with removing the motherboard through removing the screws as described above. Also, disattach the controller ports and power/reset button cables from the board. As seen below, my motherboard is in pretty good conditions. There was some initial corrosion on the video/audio unit, which might pose a problem later. For now, I just put some vinegar on it and conducted a superficial cleaning. To clean the motherboard I used a combination of isopropanol alcohol, Q-tips and a toothbrush.
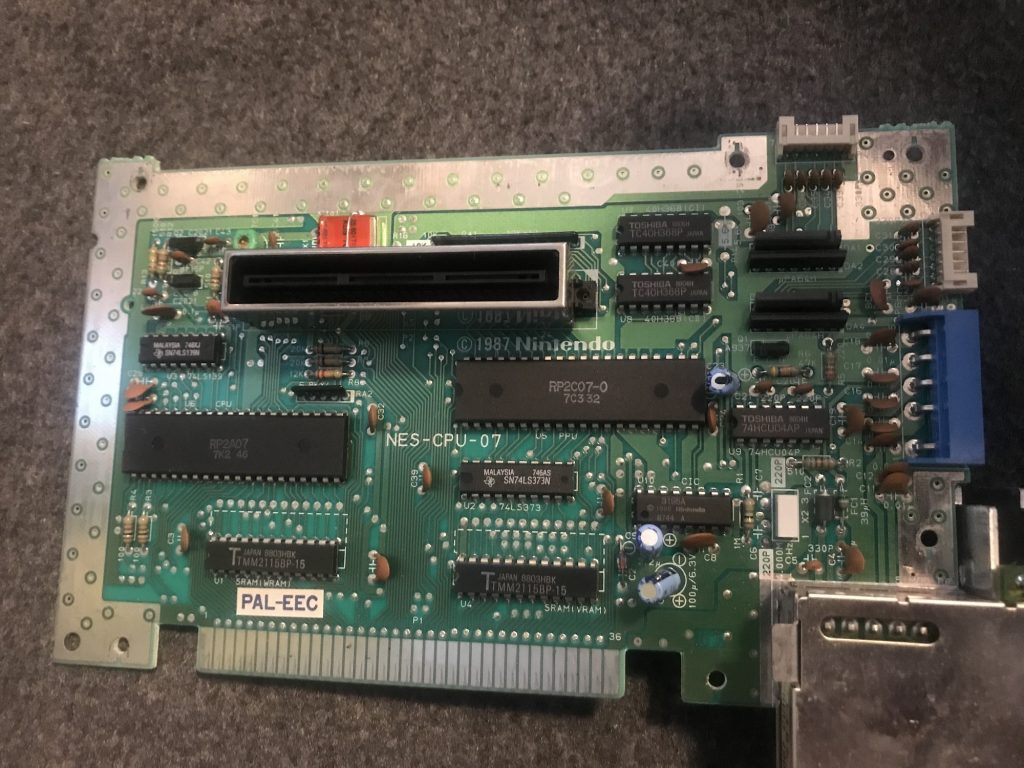
Finally, you can remove the power and select buttons, and the gamepad connectors. I used some soap and water to remove the grass (?) from the bottom of the case, before I reversed the steps above for a full assembly.
One thing I noticed just in time was that the red text on my NES case does not withstand alcohol, so be careful when cleaning this part! Anyway, hopefully your NES will now give you several more years of entertainment!
Hej!
Jag har ett nintendo från min pappa i exakt ett sånt där fodral och har länge tänkt att det nog var ett uthyrningsexemplar men inte kunnat hitta något likadant. Mitt fodral saknar tyvärr nästan hela etiketten och är ganska slitet. Väldigt glad att ha sett din bild och äntligen veta hur fodralet såg ut från början! Tack 😀
MVH Annika
Hej! Kul! Ja, etiketterna blir lite slitna med åren. Det vore ett trevligt projekt att scanna och restaurera en digital etikett för utskrift.