The Playstation Portable (PSP) was Sony’s first handheld console, launched in Japan late 2004 and the rest of the world 2005. It was Sony’s first attempt to compete with Nintendo on the handheld market. Nintendo released the “Nintendo DS” (NDS) a few weeks before the PSP. Although Sony could not quite compete with Nintendo, the PSP was a very capable console and many people still enjoy it due to the relatively high cpu power, and the things you can do with the unit after softmodding it (see: how to softmod your PSP).
As the years go, as with any older videogame the PSP will need maintenance. For keeping your unit in a healthy condition and do some basic fixes, you will need to remove the faceplate. In this post I will show you how to do this with a Philips screwdriver.
How to remove the PSP faceplate
Removing the faceplate gives you access to perform the following procedures:
- Clean the unit.
- Remove dust between the screen and the face plate.
- Replace or restore rubber pads for the buttons and d-pad.
- Clean or replace the analog stick.
I will not show how to perform these procedures in this post. Instead, I will solely focus on how to safely remove the face plate. The unit I am working on is a PSP model 1004.
In essence, as seen in the images below you are to remove seven Philips screws after removing the battery cover and the battery;
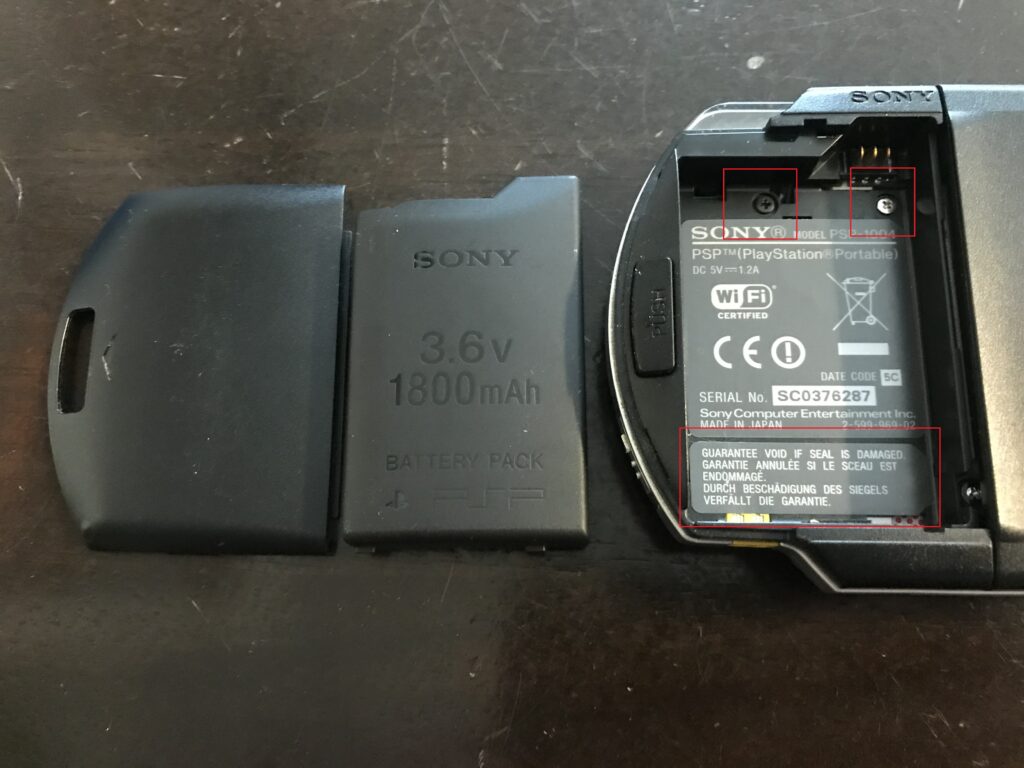
- Remove the battery cover and the battery.
- Remove two silver and two black screws under the battery (two of the screws are hidden under the warranty label in the first image. Remove that label).
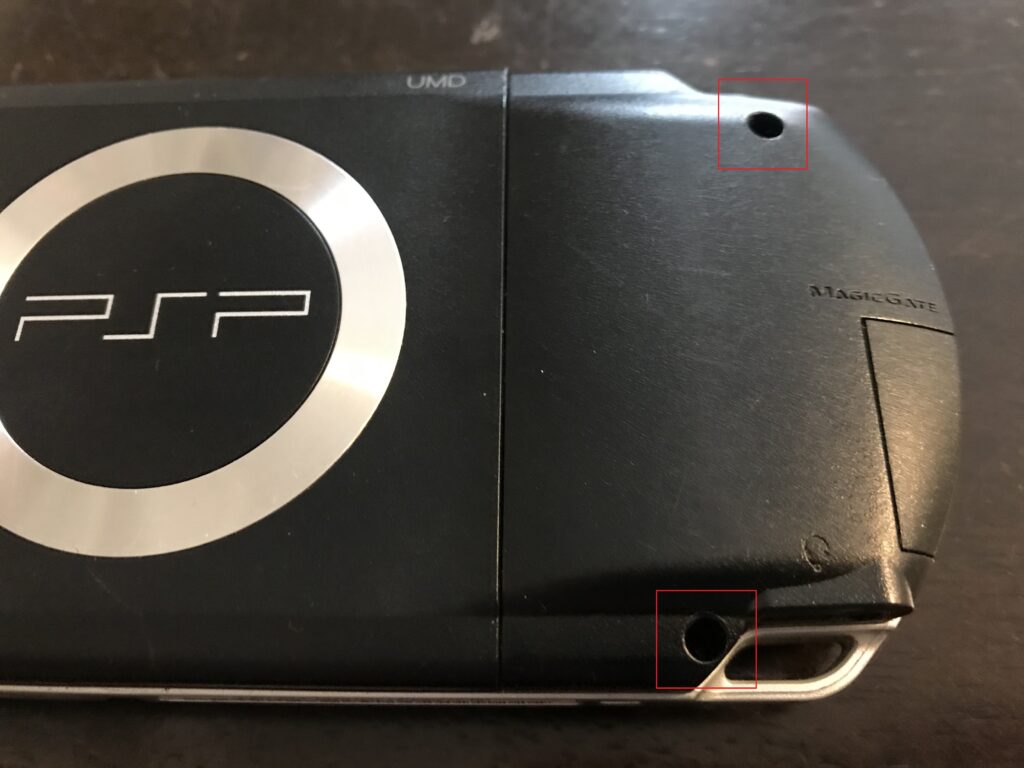
- Remove two black screws on the opposite side of the back of the PSP.
- Remove the silver screw at the bottom of the unit.
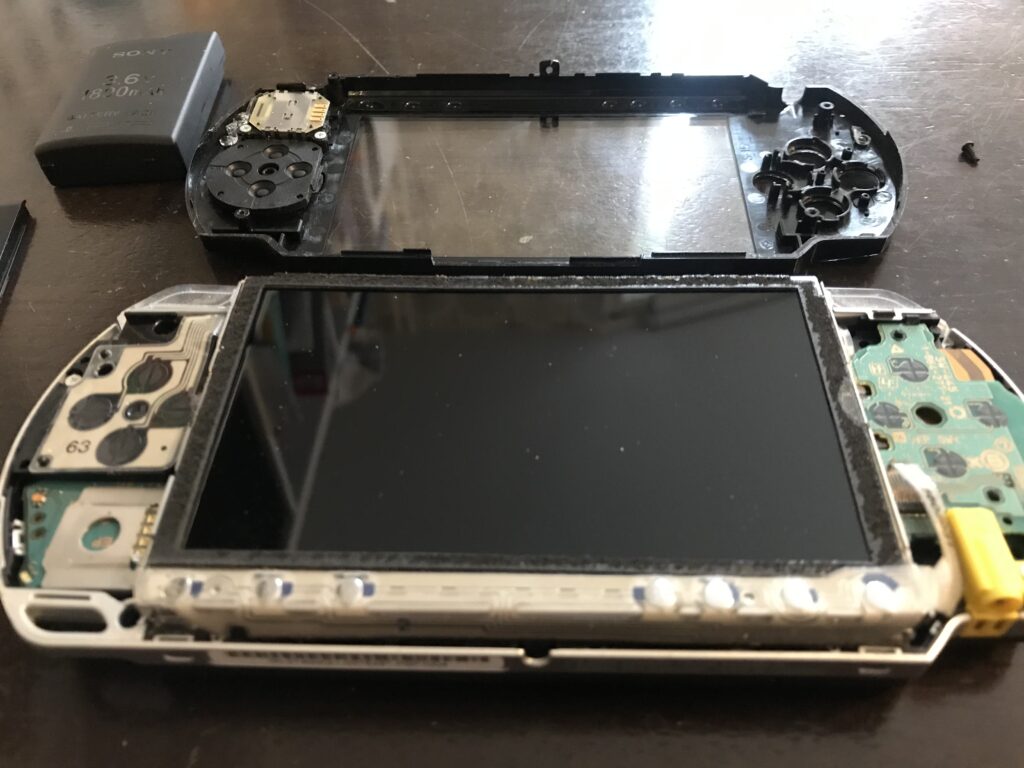
- Gently lift the faceplate.


There we go! You now have access to the screen, pads and buttons, and can give your unit a good clean! I used alcohol on all buttons and pads, and a dry cloth to swipe the screen. Assemble the PSP by following this guide in reverse.

