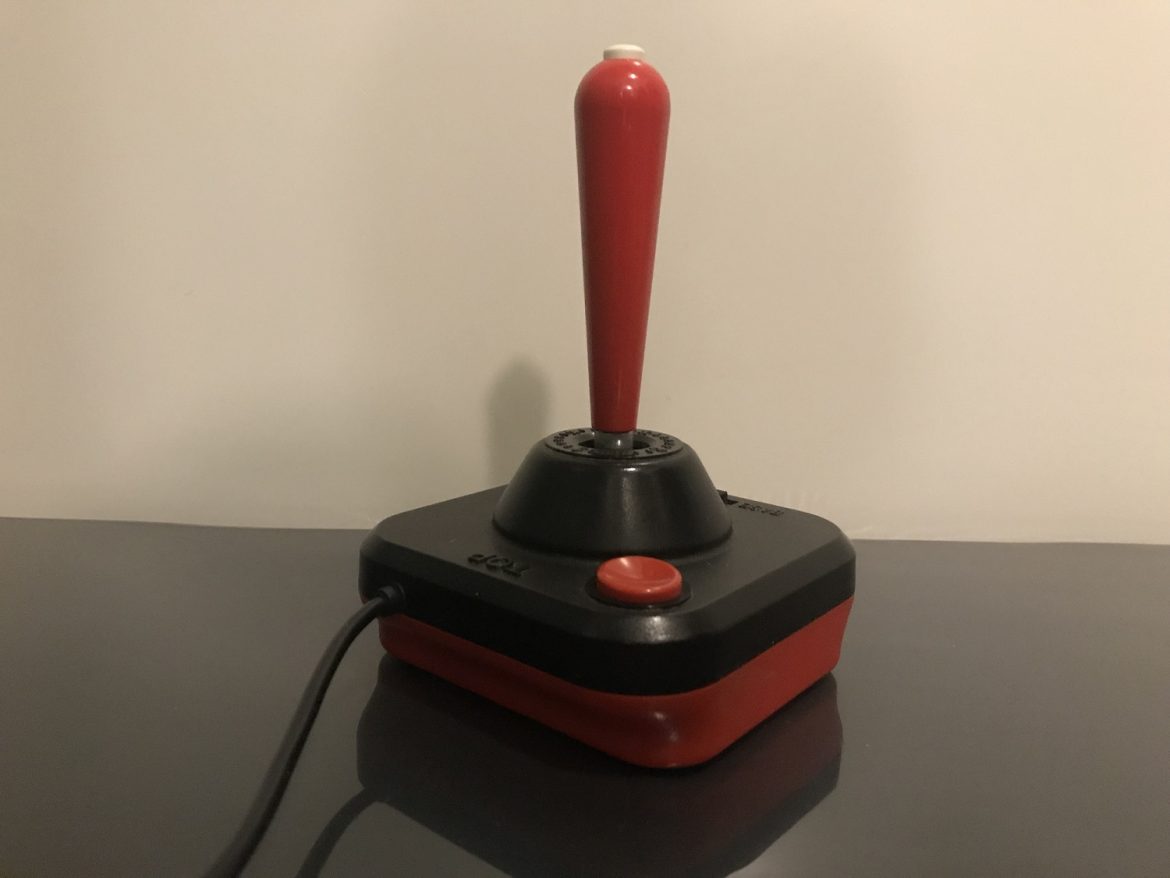
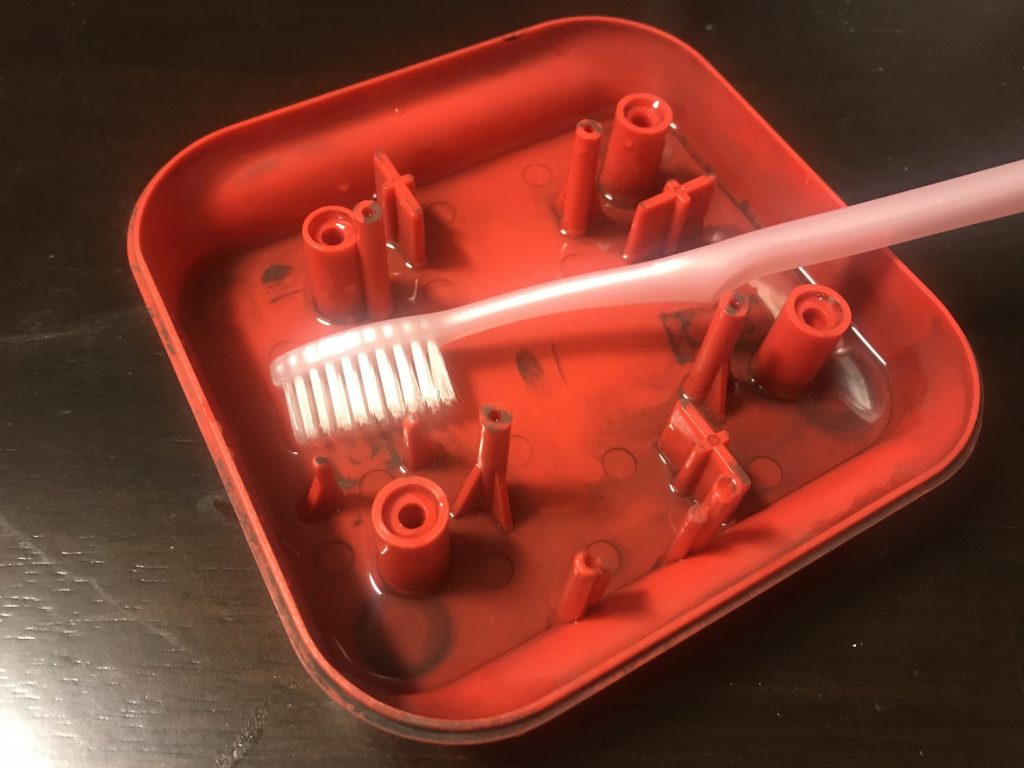
Wico Command Control is another classic joystick I have had the honor to work on lately. In prior posts I’ve described repairs of Wico Q Stick and Suncom TAC-2. The Wico Command Controlk was bought together with a couple of other broken joysticks. All three joysticks had their cables cut at the base of the joystick for some reason. Apart from that, the Command Control (or “Bat Handle” as it is also called, referring to the shape of the stick that resembles a baseball bat) is in cosmetically good condition on the outside. The inside was covered with some black dust / soot with a garage-like smell though. I do not know where it comes from, but I have seen similar dust on other models of the Command Control online. So, step one in this repair was to give the Wico Command Control a good clean. The inside of the joystick is easy to access to four screws in the bottom. Additional information about this line of joysticks is available on S-config.com.
Wico Command Control repair, step 1: Cleaning
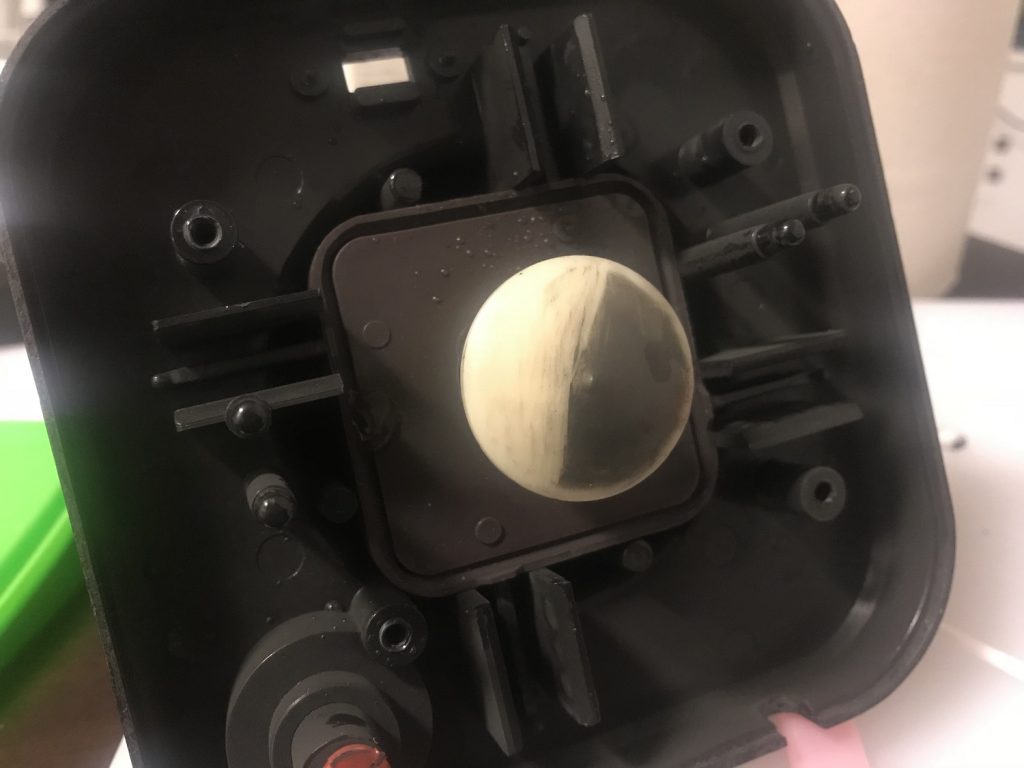
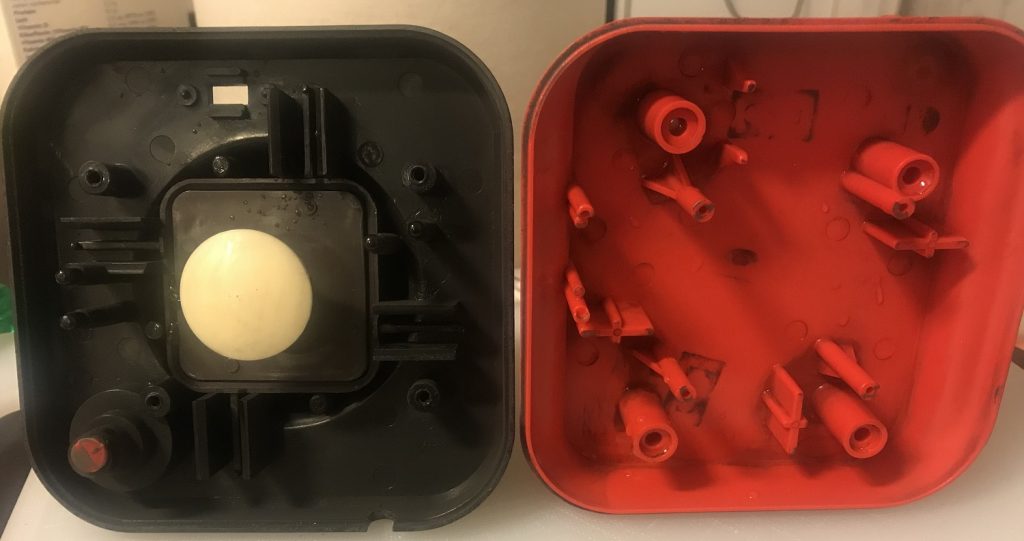
The picture below shows the difference when I rubbed half of the underside of the stick button with alcohol. This was an incredible dirty joystick! Isopropanol solves most problems though, without damaging the plastic. I could probably rub this dirt for days with paper, toothbrushes and ear “topz”, but the result below will have to do.
Wico Command Control repair, step 2: Disassembly
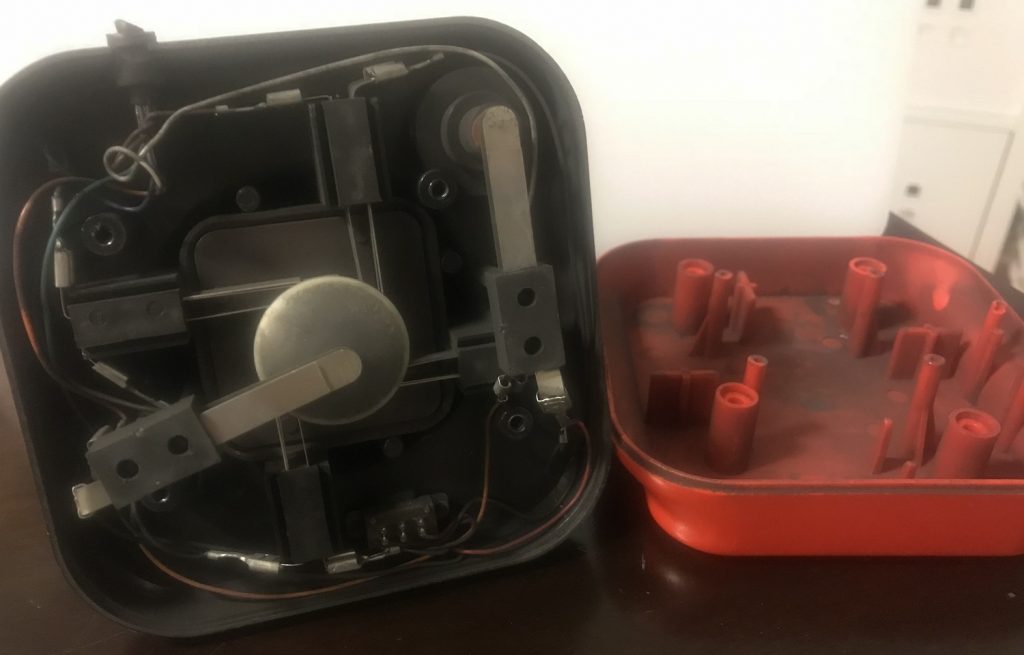
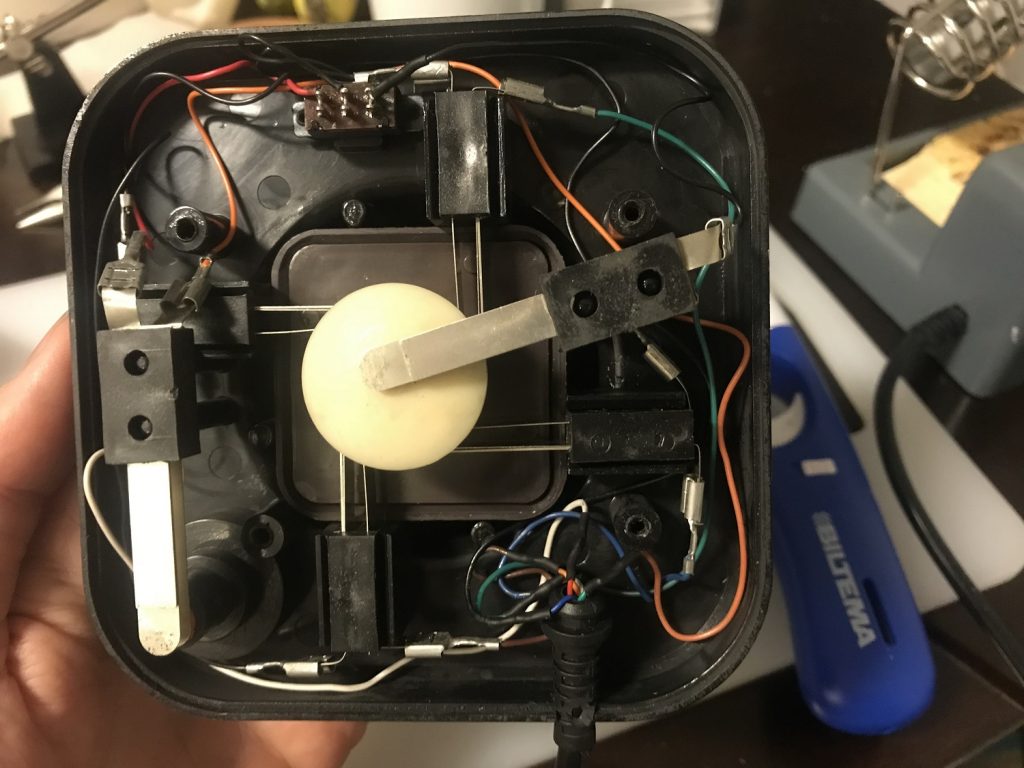
To disassembly the joystick completely you simply lift out the metal clams (already performed in the picture below). Take a picture of the clams before you do this so you achieve an overview of their positions. This is beneficial so you get the proper cable length between the clams when you are assembling the joystick again. The construction is fairly simple, but robust: when you move the handle and / or press one of the buttons (depending if you choose the base or stick button through the selector switch), the clams are pressed together and sends a signal to your unit, for example a Commodore 64.
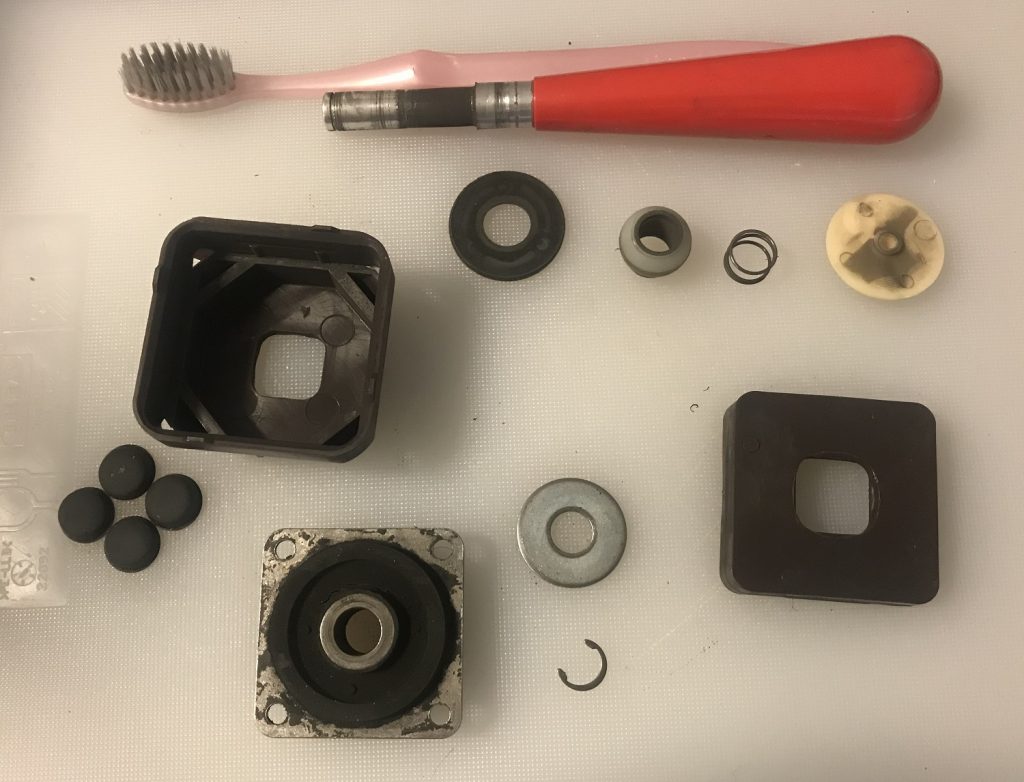
To disassembly the stick, you pull the white circle “saucer” downwards. Then you loosen the leaf spring. Remember how they fit the joystick. From down to up:
- White plastic “saucer”
- Leaf spring
- Round plastic detail
- Spring
- Inside the plastic housing (that consists of two parts):
- Round silver metal spacer
- Square metal spacer with rubber circle
- Round, dark spacer (softer)
- Inside the stick:
- A plastic pole with a spring that constitutes the button on the stick (not in picture)
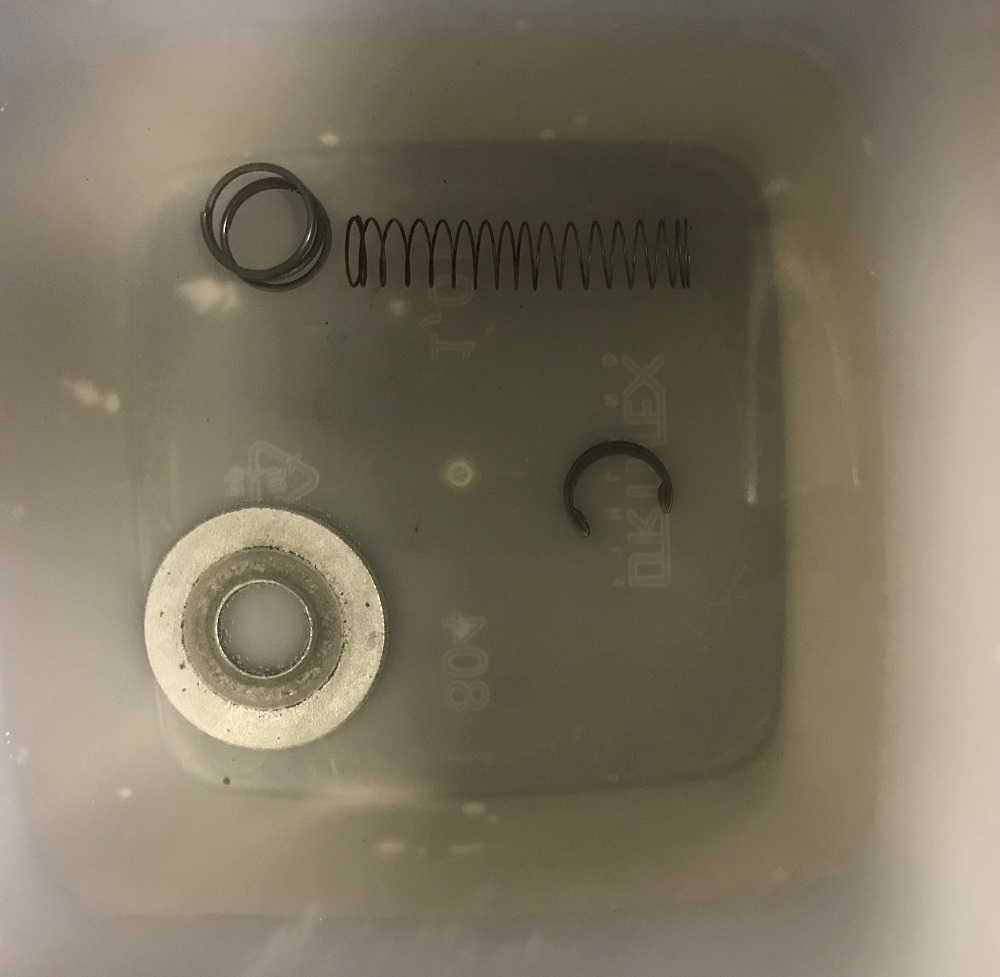
I placed the metal parts in some vinegar to remove the worst corrrosion. Then I cleaned the rest of the parts with alcohol. After that I reassembled them according to the above order.
Wico Command Control repair, step 3: The cable
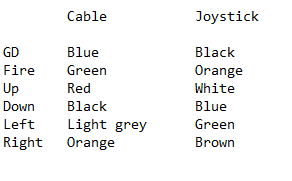
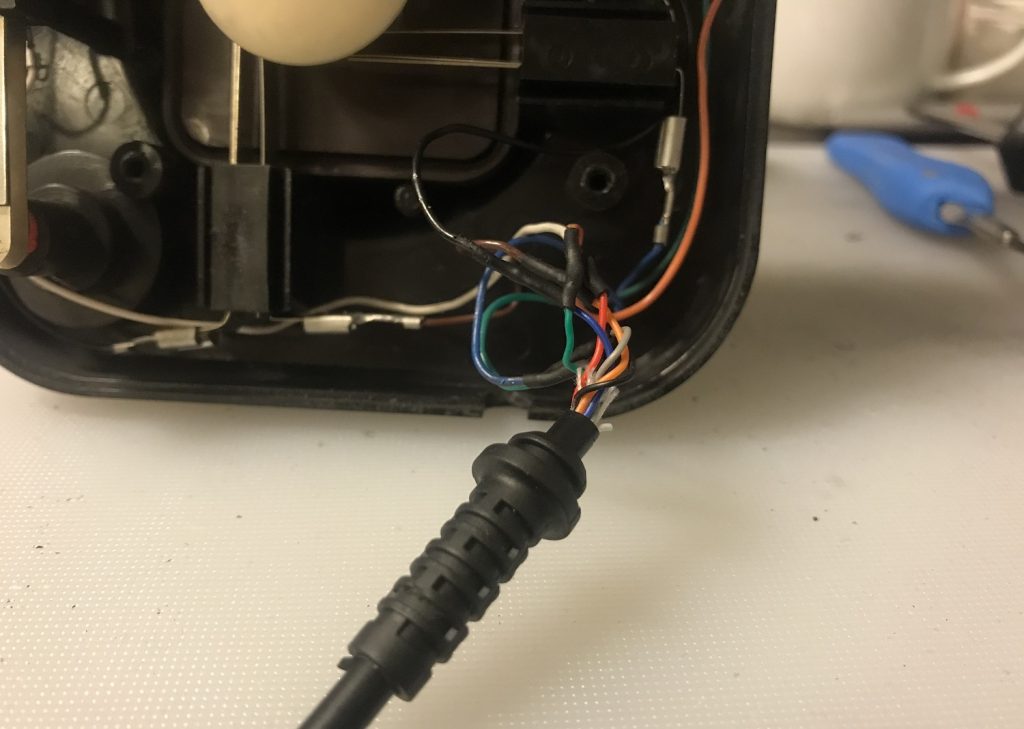
Finally, I repeated the same step as when repairing the Q Stick: solder the cables together with a new joystick replacement cable with a new cable boot / strain relief (all from Ebay). The Strain relief is a little to big, but can be cut for a better fit with a sharp knife (I prefer to avoid cutting in the joysticks). The threads in the cable followed the same standard as the Wico Q Stick. I used some heat shrink tubes on the area where the cables were soldered together. Then, I tested the connections with my joystick tester. It worked perfectly!
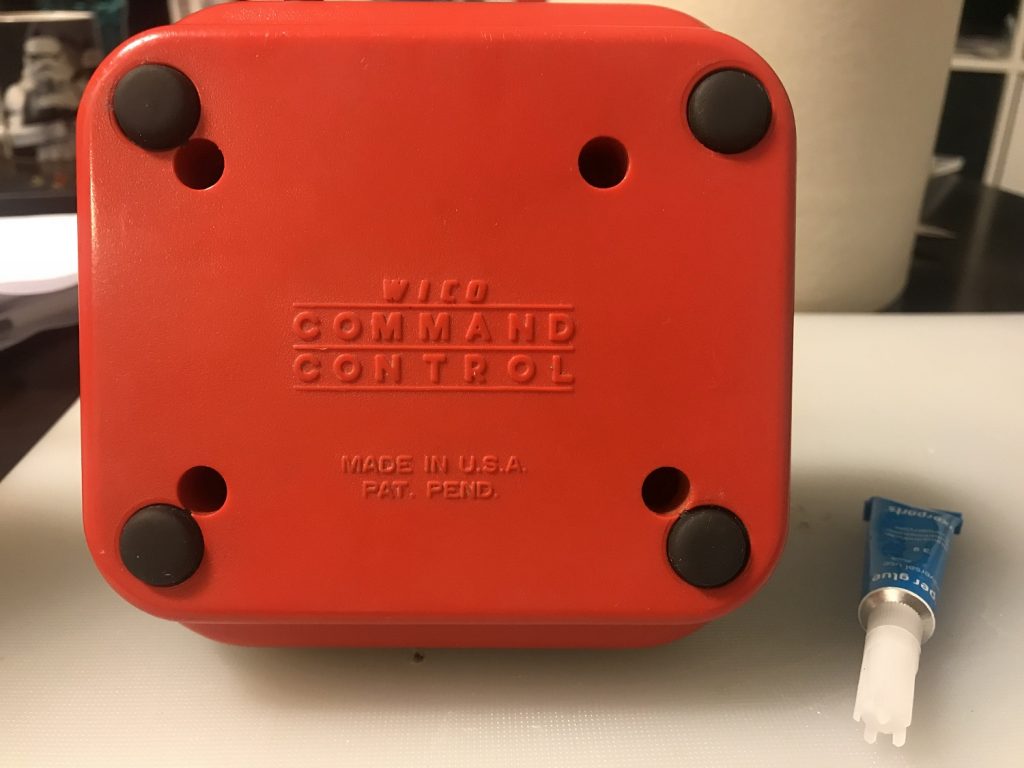
The rubber feet under the joystick were in good condition, but the glue had seen better days. As a final touch I attached them with some super glue. Done!
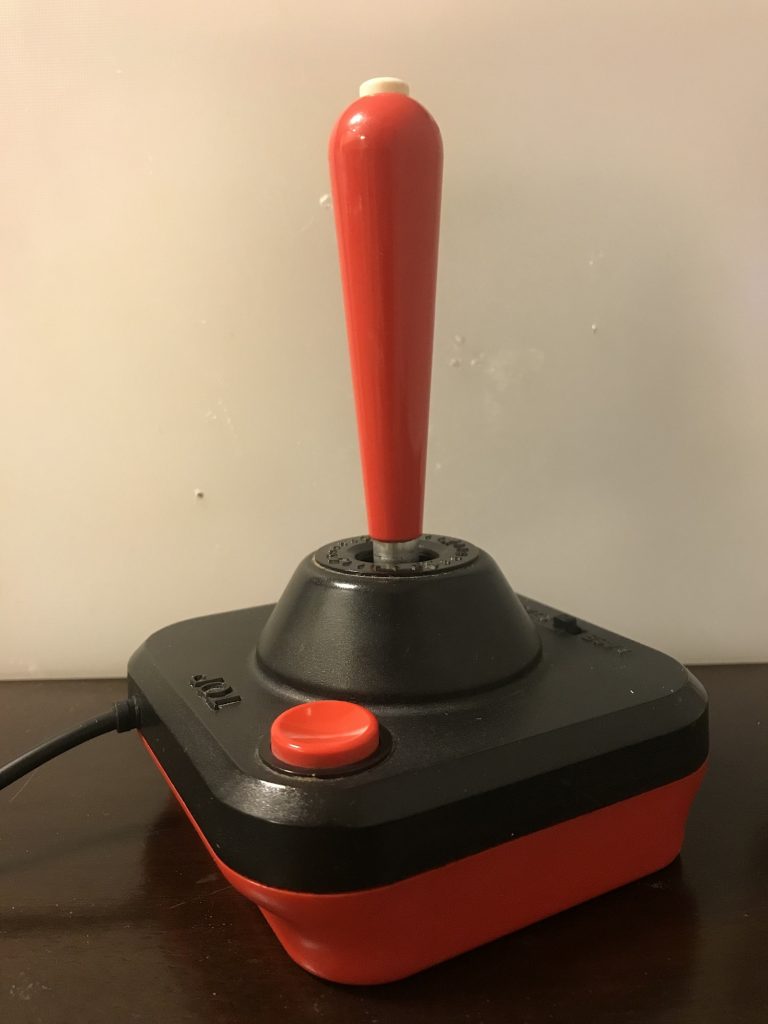
The Wico Command Control is a mangnificent looking joystick, isn’t it?
Hello. Can you tell me the dimensions on the part you call:
“Square metal spacer with rubber circle”
Thank you.
Hi! Sure, no problems. I am out of town until the end of next week though, so let me get back to you then.
Hello Jeff,
I Believe the part you are looking for is a Wico 3/8″ Joystick Centering Grommet. It’s actually used in a lot of arcade machines which is fortunate as you can purchase new ones. It has an Atari reference part number of 99-080031. I replaced the grommets in all four of my sticks and no problems.
Anyhow, hope it helps.
Thank you!!